List of contents:
Bunny Stream is a great all-in-one solution for video hosting, encoding and delivery. Apart from the ease of usage, the pricing of this service is incomparable – it’s competitors aren’t even in the same ballpark.
We have created an advanced integration, making Bunny Stream even easier to use. Hosting, encoding and delivery with Bunny Stream via FV Player is as easy, as using the WordPress Media Library. You can use this integration fully even in the free version of FV Player.
If you’d like to host and encrypt your videos elsewhere, Bunny.net provides a great CDN for video.
Setting Up Bunny Stream With FV Player
The setup is carried out in a short Wizard. You need to have a Bunny.net account first. You can create a Bunny.net account here.
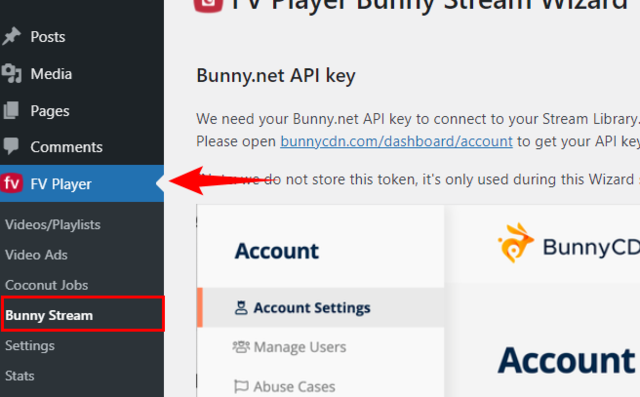
- Go to wp-admin -> FV Player -> Bunny Stream:
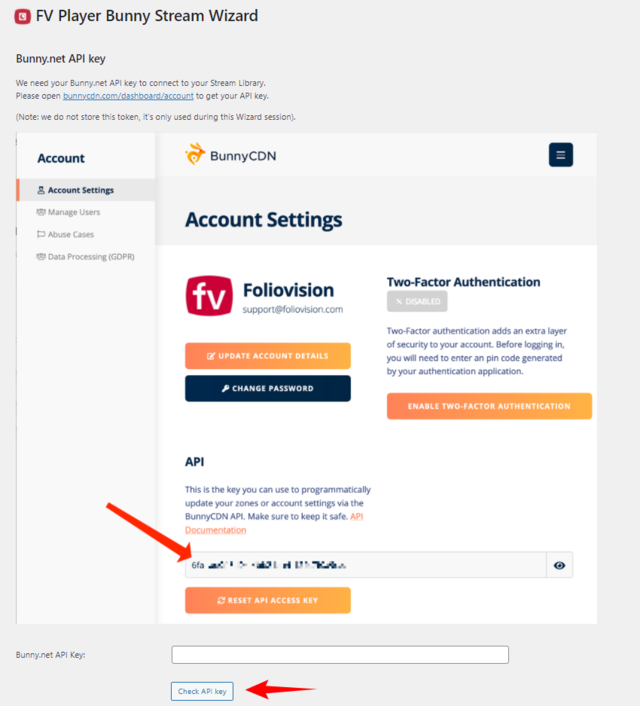
2. The Wizard will ask for your Bunny.net API Key. Click Account in the top menu of your Bunny.net dashboard. Or just follow this link: https://panel.bunny.net/account.
It will take you to your account settings. You can see the API Key there. Insert it into the Wizard and click Check API Key.
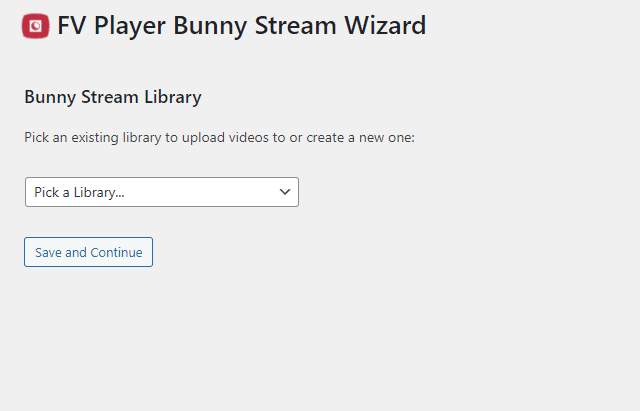
3. You get a choice to pick your existing Bunny Stream Library. If you don’t have any yet, you create a new one:
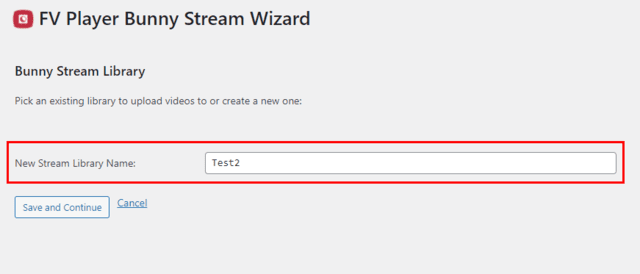
4. If you choose to create a new library, insert the name into the field and save:
You can find your newly created library in Stream -> Video Libraries in your Bunny.net account:
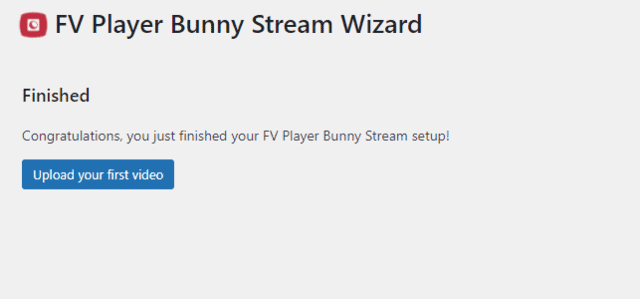
5. That’s it. You can now proceed to add your first video:
Posting A Bunny Stream Video
You can hit the Upload your first video button. This takes you to the FV Player Database. Or just start creating a post and use the FV Player button in your post editor.
- Bring up the FV Player shortcode editor and click Add Video:
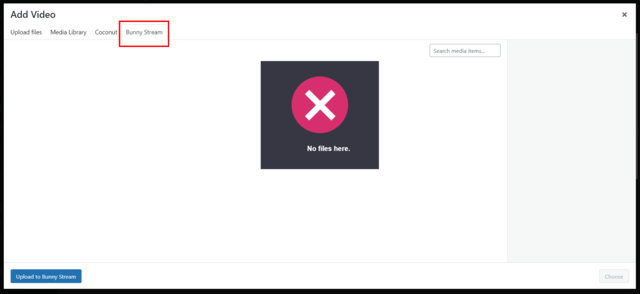
2. Go to the Bunny Stream tab:
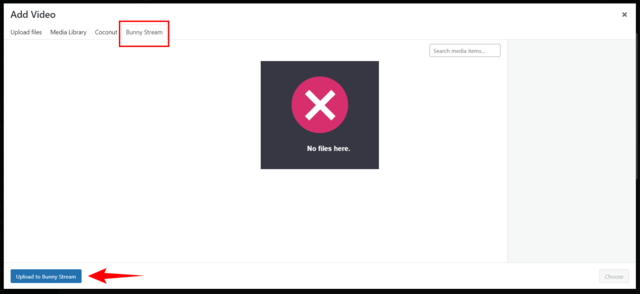
3. Either click the Upload to Bunny Stream button:
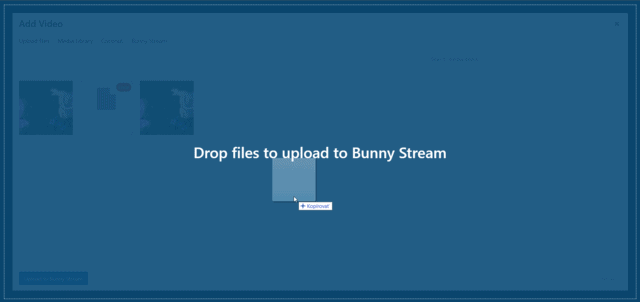
Or simply drag & drop the files:
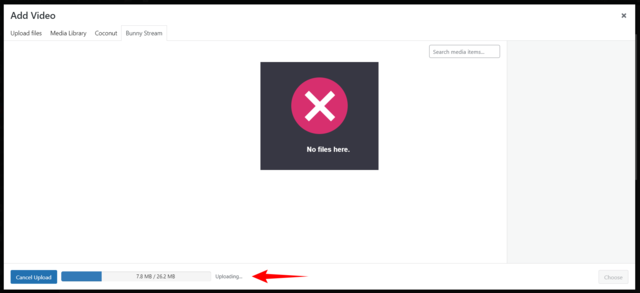
4. Wait for the video to upload:
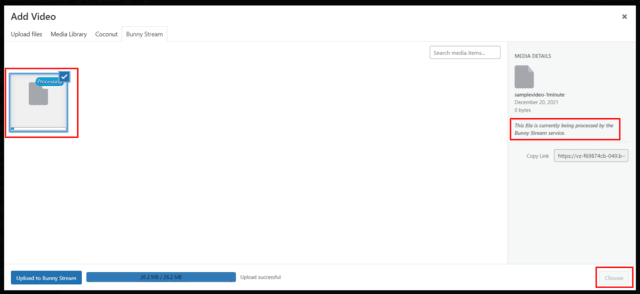
5. Unlike in FV Player Coconut, you’ll have to wait for Bunny Stream to process the video. Unless the first quality is done encoding, you will not be able to post the video:
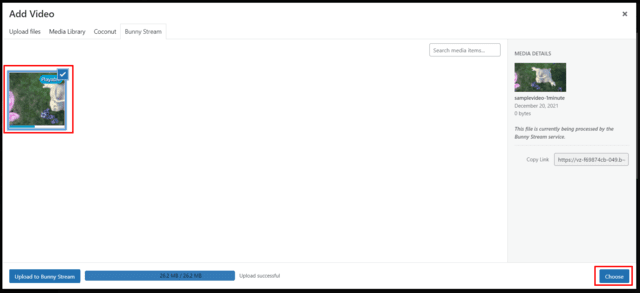
6. Once at least one video quality is processed, the video turns from processing to playable. You can now post the video:
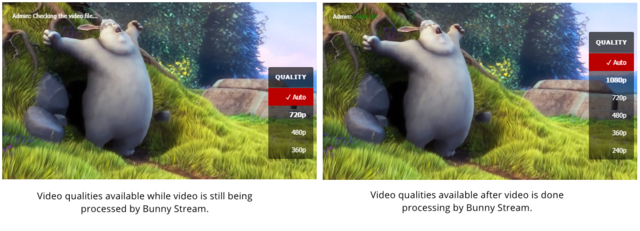
7. You do not need to worry about the encoding process from now on. Other quality options will be automatically added once processed by Bunny Stream:
8. That’s it. You can now enjoy your fully encoded video with delivery via BunnyCDN.

Bunny Stream Video Protection
There are two things which you can do:
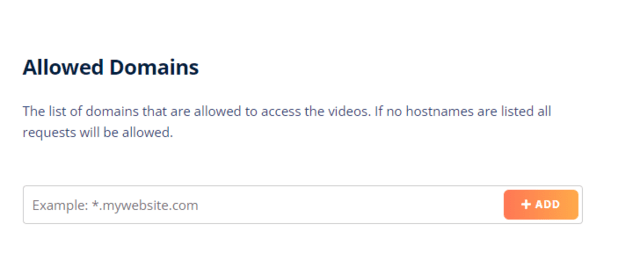
- You can strengthen the protection by filling in Stream -> Security -> Allowed Domains on your Bunny.net Dashboard:
To include all the subdomains, put * before the domain, like this:
*.example.com
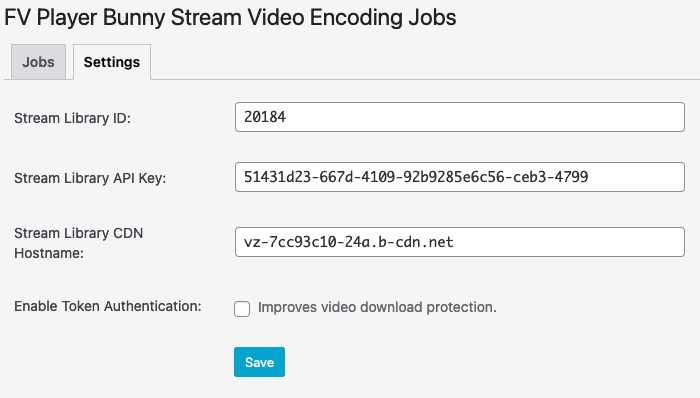
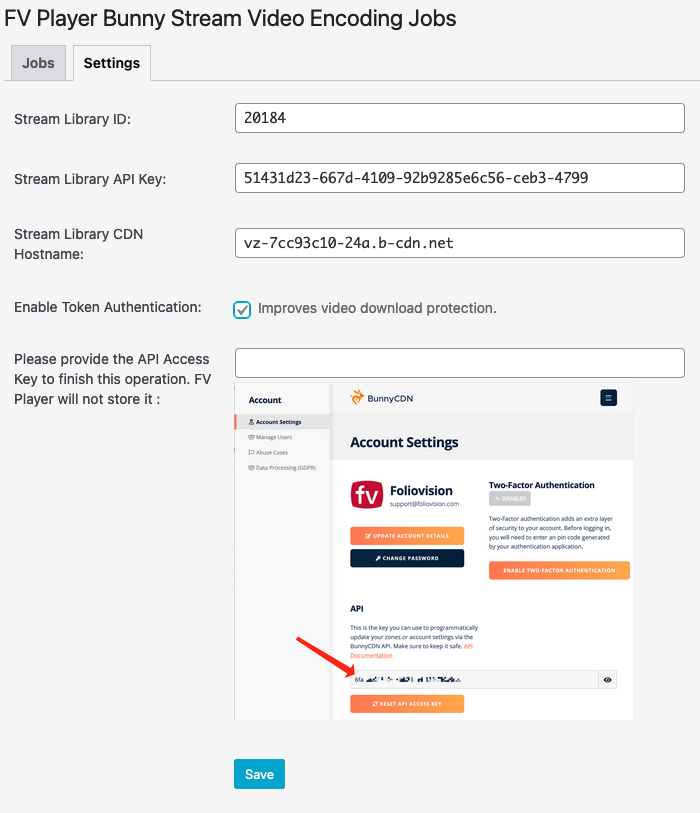
- If you also have the FV Player Pro license you can use the Enable Token Authentication setting to better protect your stream URLs from sharing:
Bunny Stream also allows you to enable the MediaCage Basic DRM encryption, but is only available with their native player. This option cannot be used in third-party players and if turned on, makes the video unplayable.
