Before you start, we assume that you have a working Coconut encryption set-up. If not, you can configure it by following our simple set-up guide. You can get FV Player Coconut for free here.
List of contents:
Encoding Via Coconut
1. FV Player Coconut lets you uploads the video right in your WordPress Admin Dashboard. You can access it either via the FV Player database or the FV Player button in the post editor.
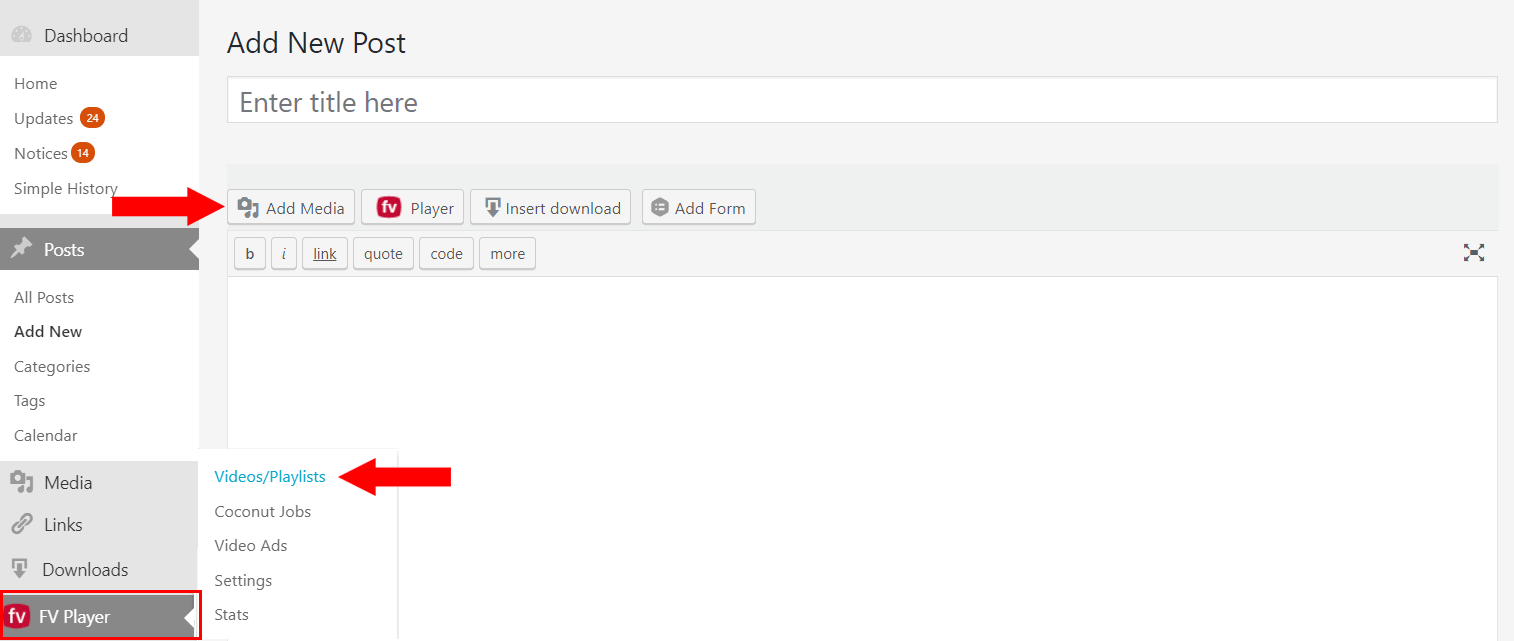
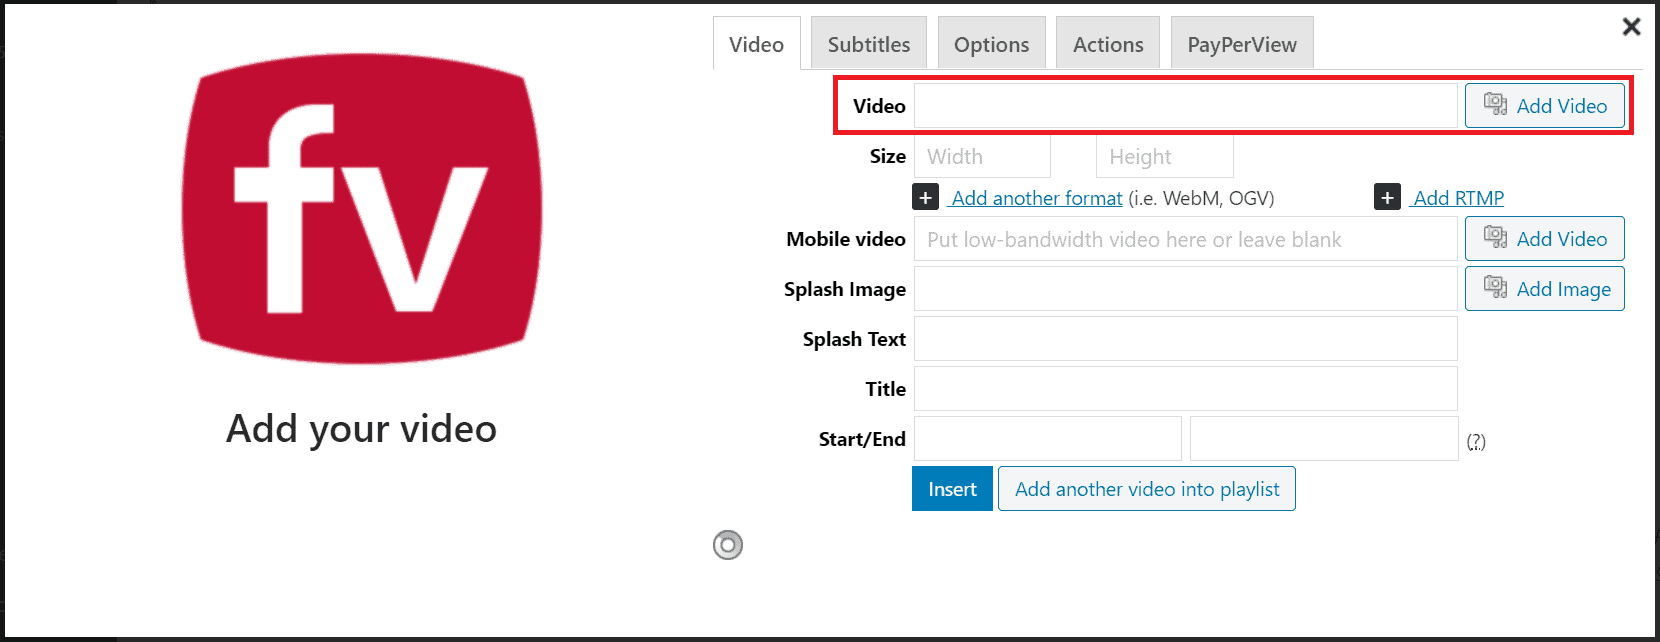
2. Clickig the button will bring up the shortcode editor. Once there, click Add Video to open the Media Library.
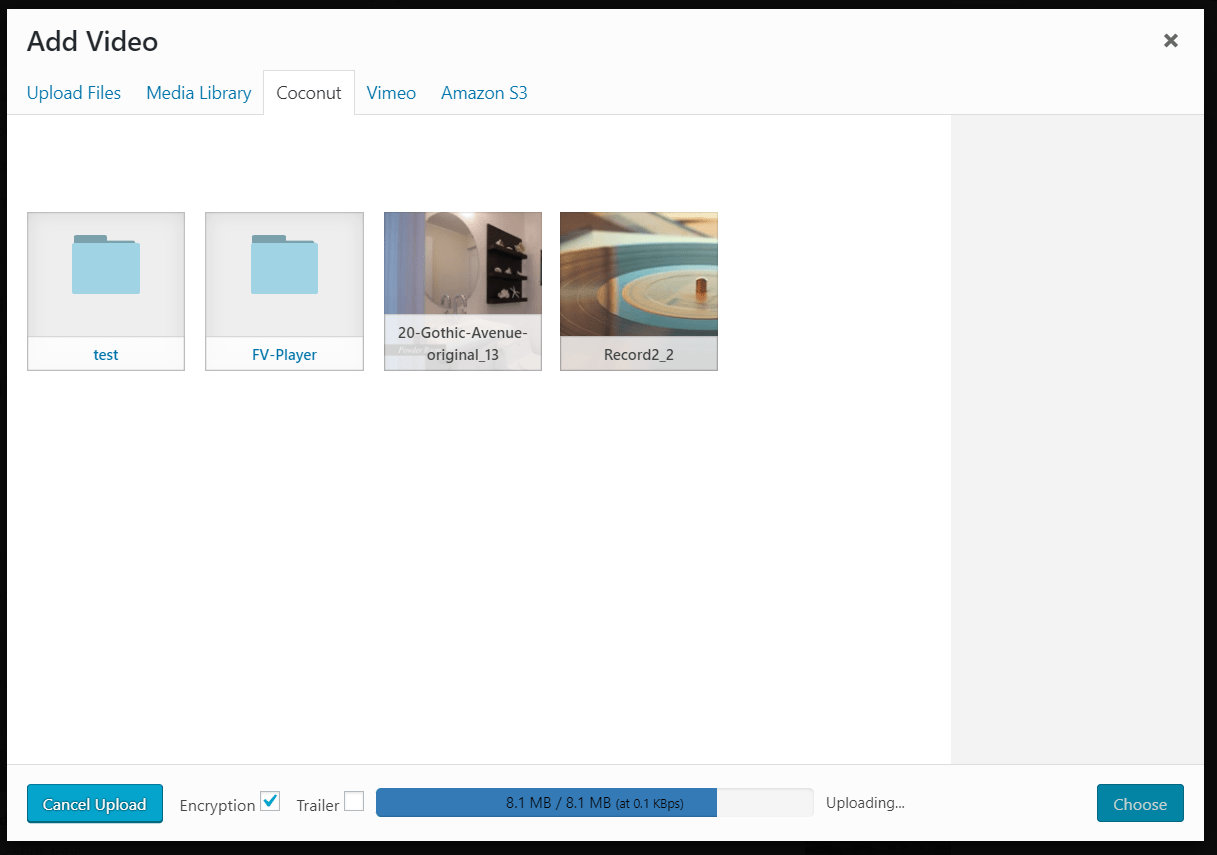
3. Open the Coconut tab. If you own the FV Player Pro licence, you get the choice to also encrypt your video. Encryption is currently the best video protection against downloading possible.
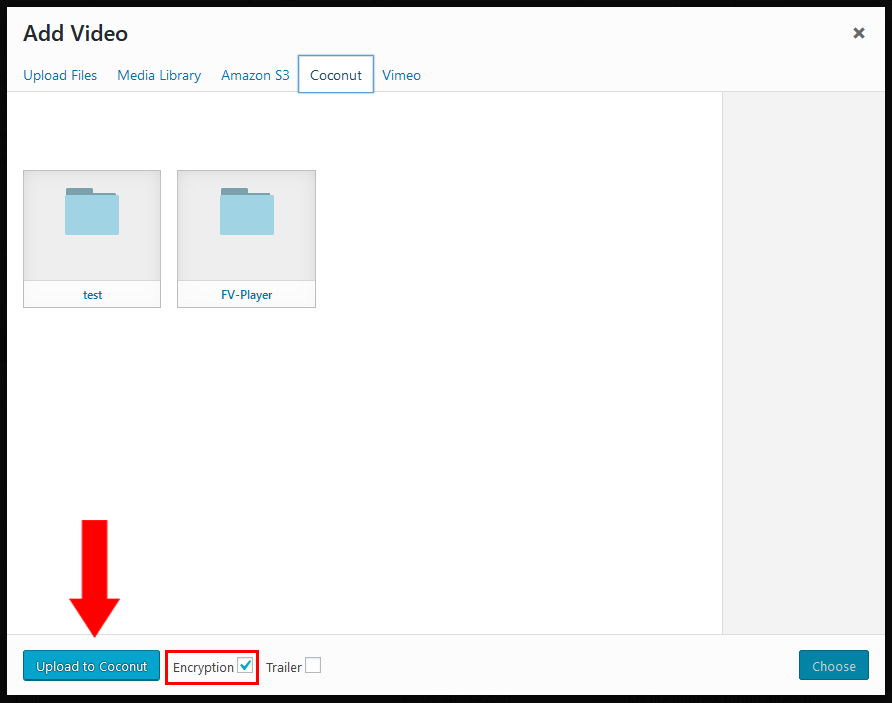
You can also use the drag & drop function.
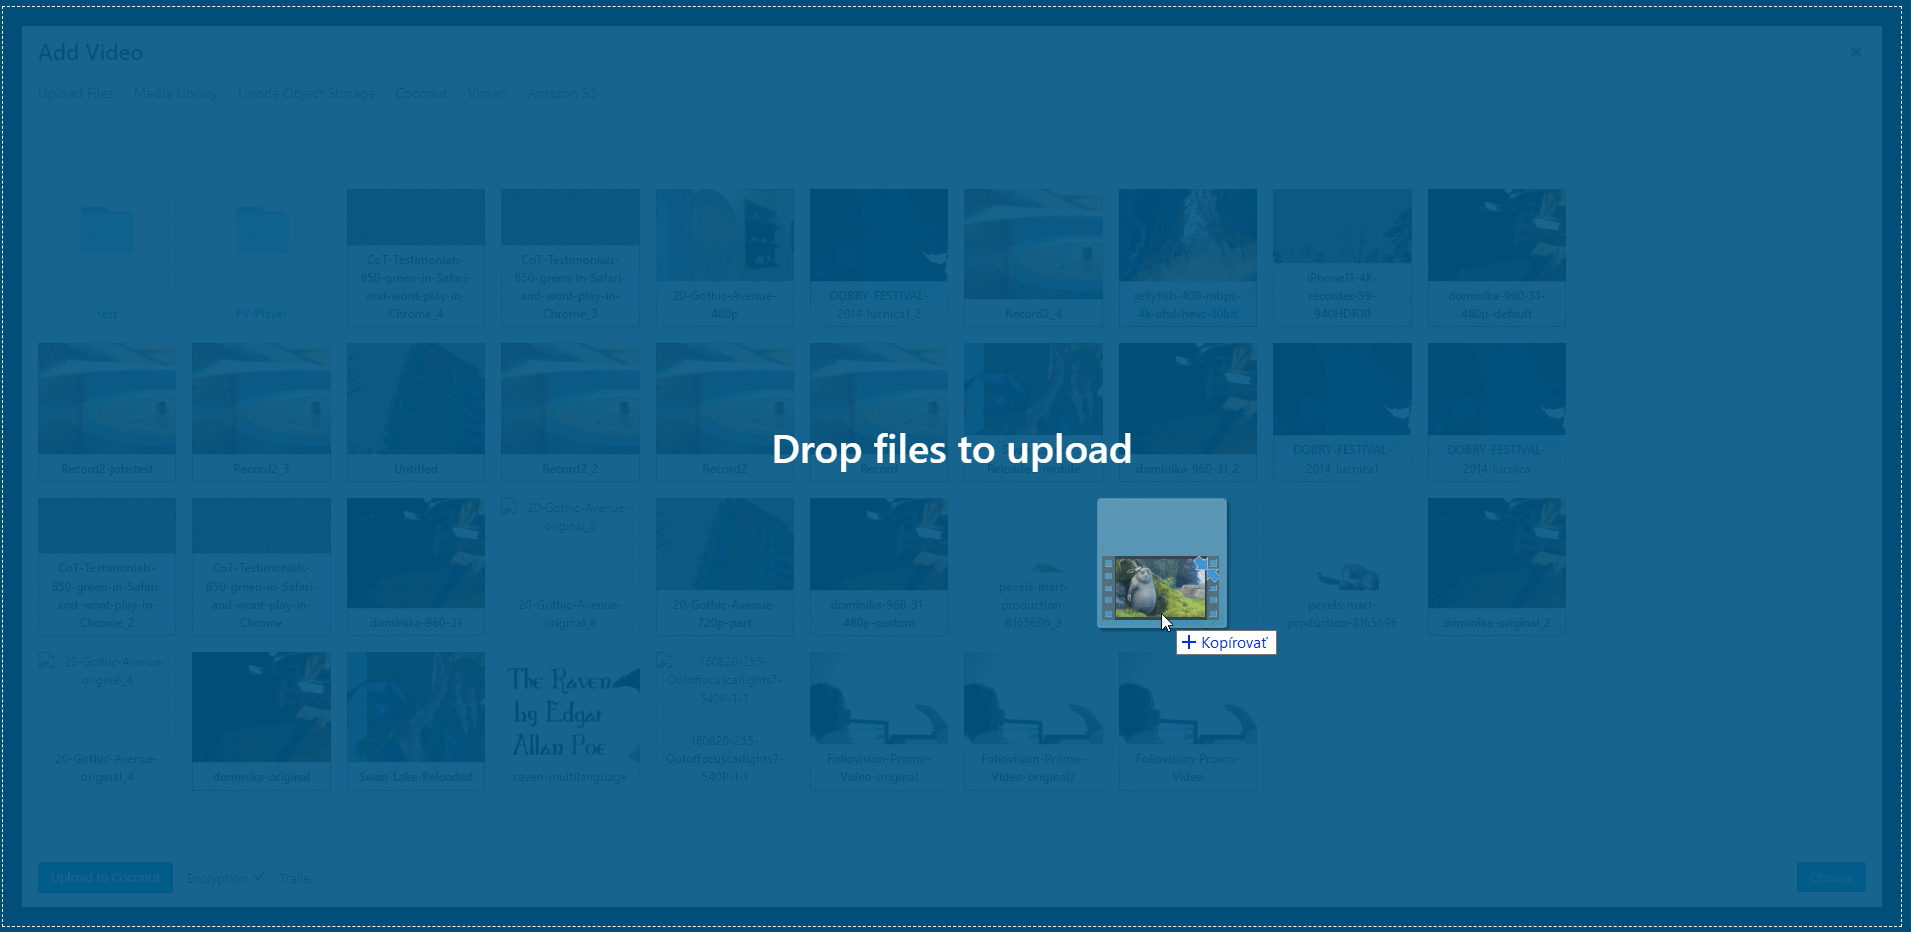
4. A loader will appear in the left bottom corner, showing the progress of uploading the video to DigitalOcean Spaces.
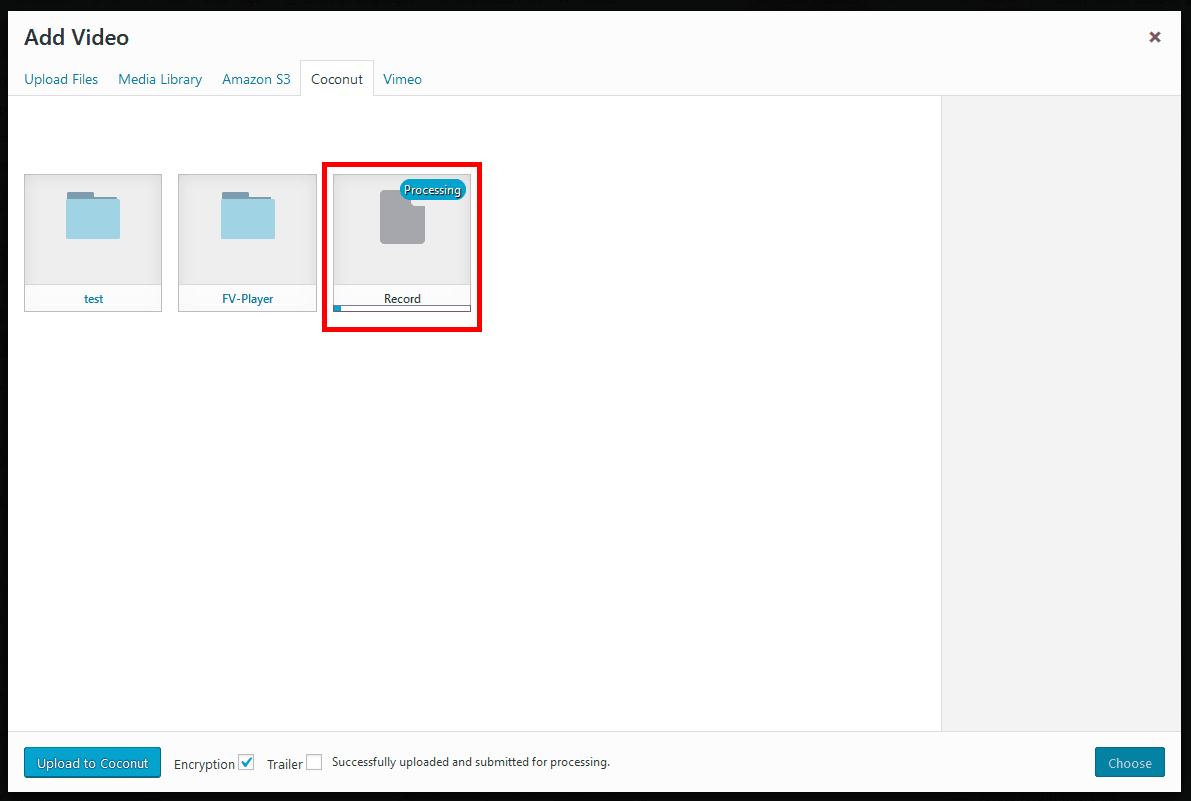
5. Once the video is uploaded, the media library tab will automatically refresh and show you the video processing progress in real time.
Posting A Coconut Encoded Video
You don’t need to wait for the job to finish. You can continue editing the features in the shortcode editor, or even post it before the encoding process has finished.
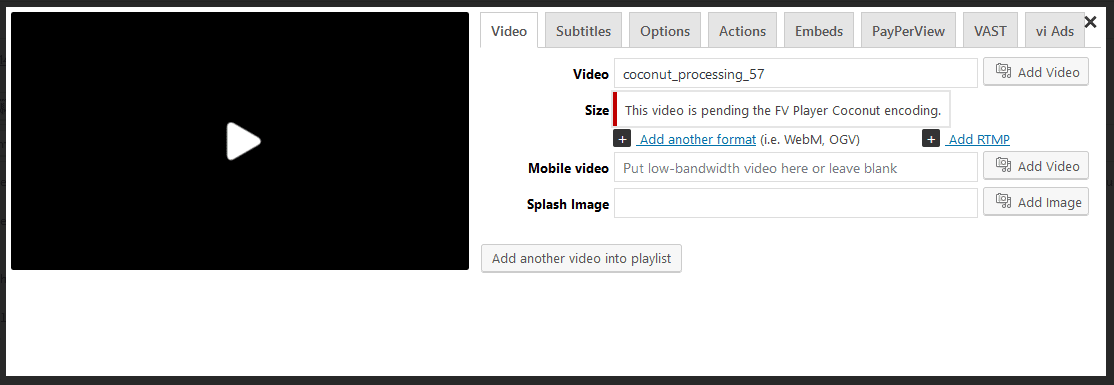
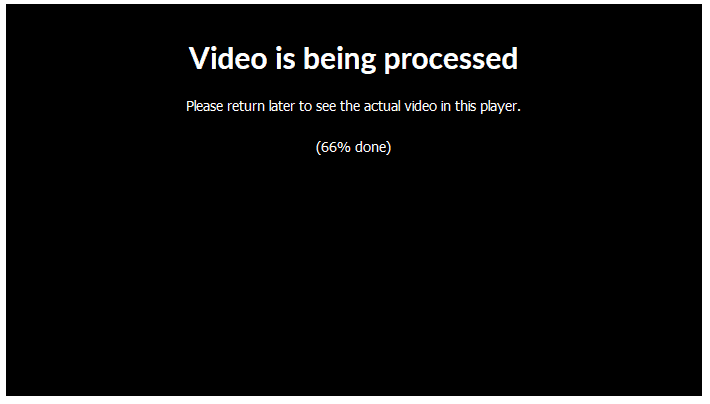
1. Pick and insert the video that is being processed. You will see a real-time processing notice where the player would be. During this time, the video will show as “coconut_processing_coconut job ID”.
Meanwhile, you can go on setting up other features. Please remember that the splash screen, thumbnail previews and decryption key will be set automatically upon job completion.
2. You can also insert the video into a post before the encoding is finished.
3. Once the video is done, it will show up in the Coconut tab of the media library, with the video source, decryption key, timeline previews and splash image already filled in.
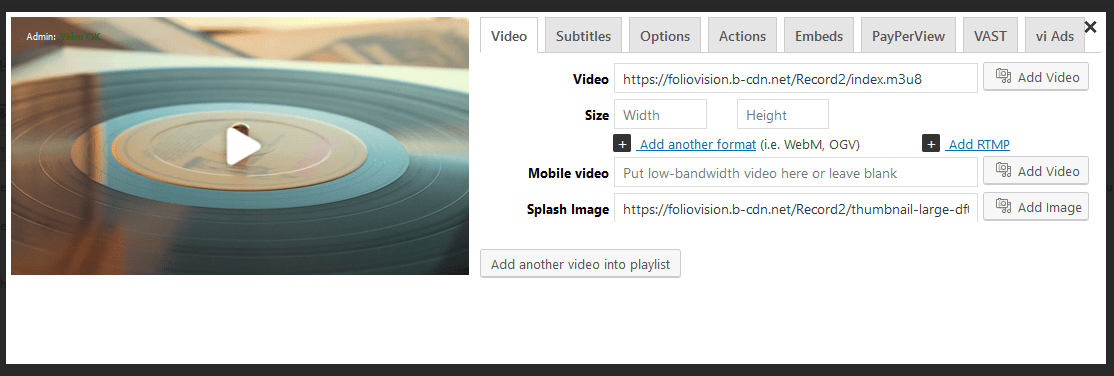
An already posted player with all the features you set up will also automatically shows up after the encoding done.

Example
Here’s an example of video encrypted via Coconut directly from our website. You can try to download it to check its security.
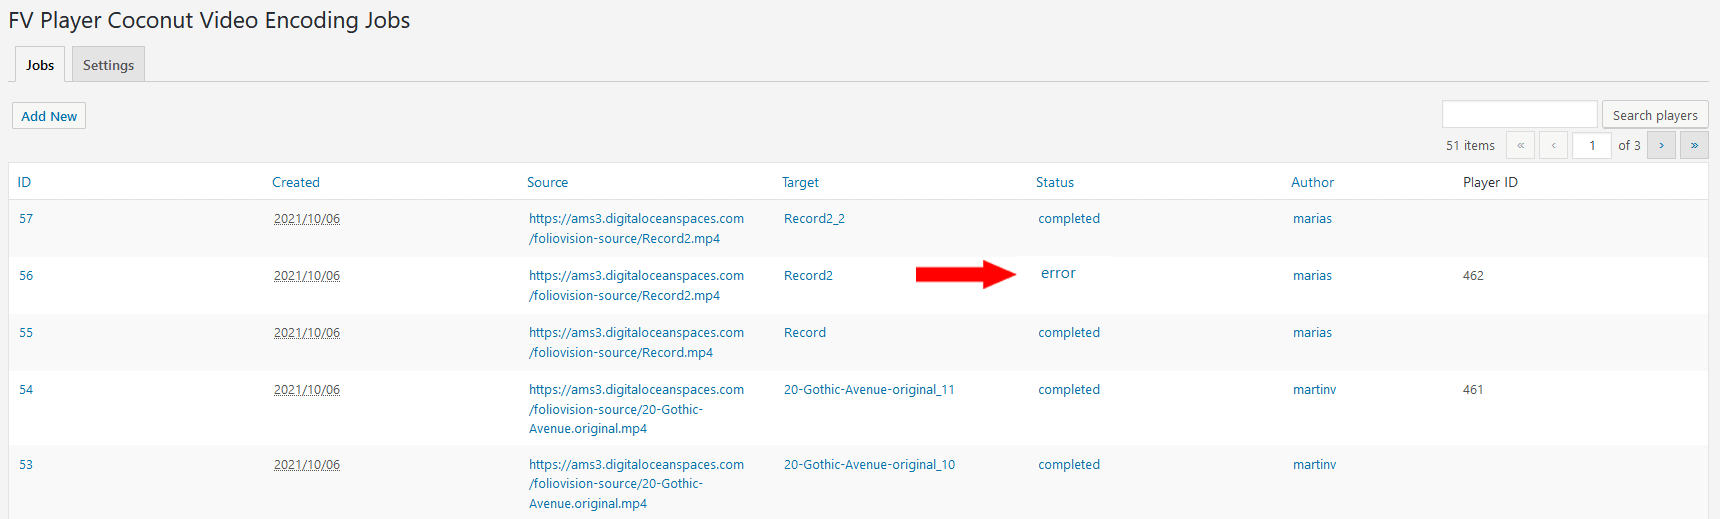
Troubleshooting
If something fails in the process, you can check FV Player->Coconut Jobs and hover over the error status of the job to find out about the issue.
If you will run into any issues with Coconut integration or with any other part of our player, don’t hesitate to contact us via our Forums!