How to achieve a cinematic look in your videos while keeping your setup simple? Young Berlin-based filmmaker Janis Brod solved the dilemma with packing an affordable anamorphic lens with him for a trip to the southeastern Europe.
The first step is to stay open-minded. If you cannot extend over your modest budget but don’t want to give up on your vision of achieving atmospheric visual results, you’ll have to figure out what would do the trick.
Janis Brod is freelance filmmaker currently swinging between shooting travel documentaries and music videos while also studying cinematography at Filmuniversität Babelsberg. In his work, he likes to jump from one mood and technique to another and has an individual approach to each video. It is really helpful that Brod likes to share with the community in the comment section on Vimeo, and answers all kind of questions – whether it’s about preferred equipment or other tools he uses for enhancing his short movies.
When Brod shot the colourful Un coup d’œil a Marseille, adding an affordable 16mm grain texture pack by Ezrah Cohen created a warm and genuine-looking 60’s vibe of the short movie about the welcoming streets of Marseille.
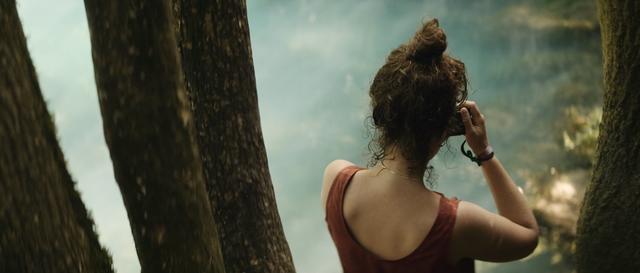
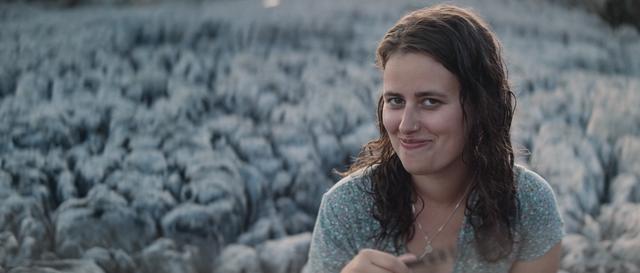
In Mèrāk – An Anamorphic Balkan Trip, Brod’s task was to travel lightly, only with a backpack, tent and camera equipment, and to capture the most of the three weeks spent in in Serbia, Montenegro and Italy. You might ask why choosing an anamorphic lens?
- An anamorphic lens captures the scene wide-angle and telescopically at the same time. Let’s say that you’re filming at a 80 mm focal length with a full-frame camera. With an anamorphic lens, the image background is heavily out of focus and the object or person in front remains remains perfectly sharp for the portrait, while still having an extended view of the whole scene in the image.
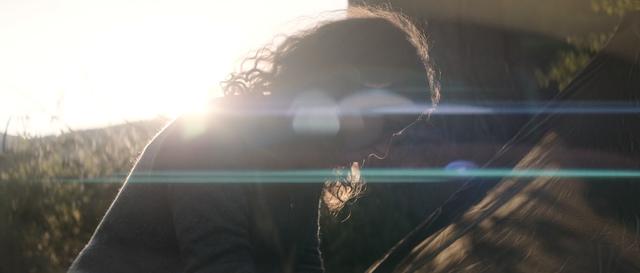
- The process of anamorphosis requires several specific and cinematographically interesting optical errors, which look great, and cannot be entirely achieved in the post-production – horizontal light glow known as the lens flare fills the shot nicely, and can add some interesting structure to the image.
- There’s a specific property applying to the blurred image areas – to the bokeh. Usually, the bokeh has a round shape, but using an anamorphic lens an interesting phenomenon occurs – the bokeh has an oval shape. This can be an aesthetic argument and interesting choice for many filmmakers.
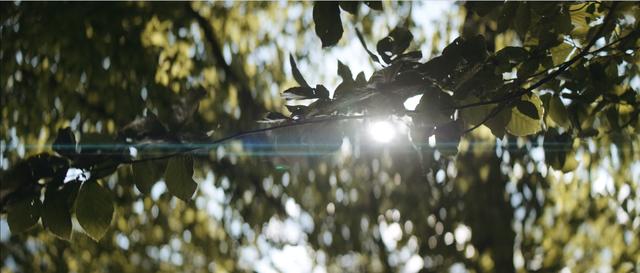
Below you can see Brod’s anamorphic lens in its full power – drawing a visible blue lens flare and perfectly oval shaped bokeh:
The second step is to find the right lens – not oversized for your backpack, neither ruining your bank account. For his movie, Brod chose the Sankor 16C anamorphic lens which is a perfect budget anamorphic lens that you may find on some second-hand marketplaces starting at $380. Shot with a taking lens Canon EF 50mm f/1.4, the fFront Variable Diopter 16A by Rapido Technology could potentially be the most expensive item on the list. You can also have a look at some test shots of the fine Japanese optic that Sankor 16C is here:

Sankor 16C - Quick & Dirty Lens Test
Another good option could be the SIRUI 50mm f1.8 lens, only the 1.33x could mean certain visual drawbacks compared to a 2.0x – gentler oval shapes and less pleasing lens flares to start with. On the other hand, it provides a great sharpness of details, so it’s up to everyone to decide what matters more in a movie. Whether it’s a vintage lens or the SIRUI – both allow you to get great anamorphic results under $1000.
Bonus option: If you’re a beginner or you already own a smartphone capable of 4K footage, why not consider even a more compact setup? The lens from SANDMARC retails for less than $200, and is able to shoot a very decent 4K video even with an iPhone SE (2020). Nowadays, the tools for creating a original cinematic artwork lay directly in your pocket:

iPhone SE (2020) Cinematic 4k - SANDMARC Anamorphic
Once you have your basic equipment chosen and you’re ready to begin your journey, you must ask yourself: what kind of supporting equipment for the camera and lens will I need? When asking that, you’ll probably end up thinking whether it will be less painful to compromise your travel comfort or the condition of your camera equipment.
Honestly, this was just shot with a simple DIY clamp, no rods and no follow focus. But I wouldn’t do that again because my taking lens suffered a bit. That filter thread is clearly not designed for holding that much weight. For the next trip, I think I’ll support it with a long Arca Swiss plate that’s connected to the camera in the back and has some kind of lens support in the front. I’m still experimenting with that setup but a cage with rods and everything is usually a bit too massive for my style of traveling.
mèrāk | an anamorphic Balkan trip (Sankor 16C)
What are your tips for light filming setup for travelling, that won’t ruin your bank account? Feel free to share good tips and ideas in the comments.
If you find Brod’s work and filmmaking ideas interesting and helpful, you can visit his Vimeo, Instagram or website and see more of his work or even let him know by leaving a note on his channel.
Do you have a video you think we should feature, or is one of your friends a talented filmmaker? Submit your work at marketing@foliovision.com for a chance to be featured in our Video of the Week series!
CR00CR
Chiara Rendeková
Chiara was born and raised in the neighbourhood of Petržalka in Bratislava. Besides studying Marketing Communication at Comenius University, she happens to be an observer, mostly through the lens of a camera.
Leave a Reply