Recently one of our clients came to us with a problem. Their computer has been stolen, together with tons of images they used on their website and social media. But they found a way how to save at least some of the images. They found out that they can download them all from Twitter. So they downloaded their Twitter profile archive, but got stuck on how to actually get to the images and came to us for help.
First things first, how do you download your Twitter archive?
- Log in to your Twitter account
- Go to your account’s Settings and privacy (click on your profile image at the upper right corner and hit “Settings and privacy”)
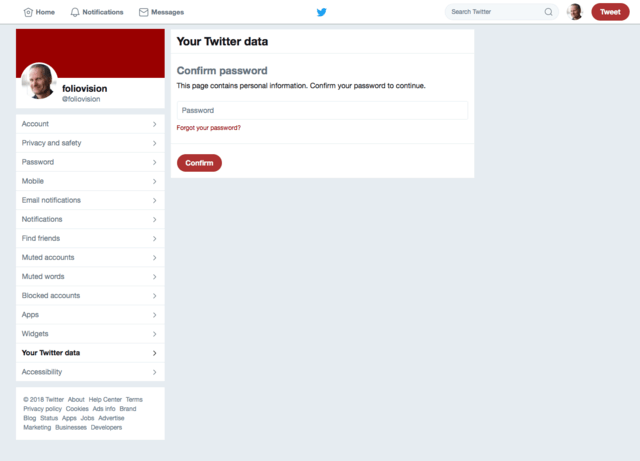
- Click on Your Twitter data. You will find it as a menu item on the left-hand side and type in your password.
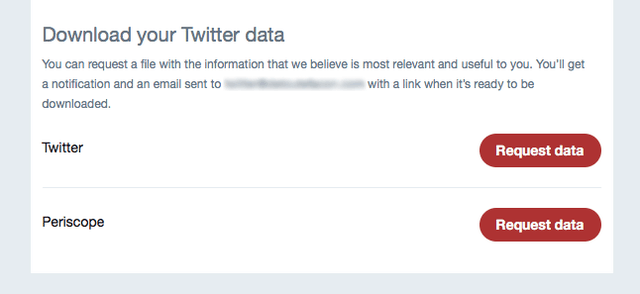
- All kinds of information will appear, but you want to scroll all the way down and click on the Request data button next to “Twitter” and wait for a download link that you will receive in your inbox.
Download the Twitter archive, unpack the file – and you’ll find… That the images are not there.
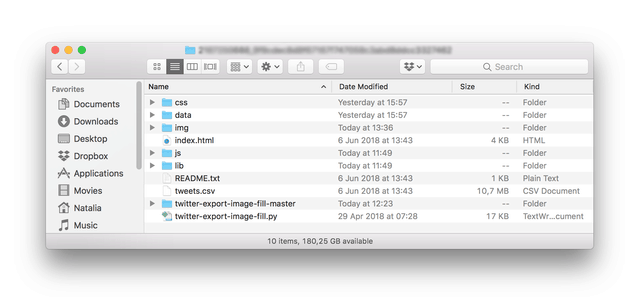
Once you have the archive, you have to find index.html, the archive browser interface provided in the downloaded file, and you can browse all your tweets with photos. Except those photos are saved on Twitter servers and not on your computer. So I was looking for a quick and easy way to download them.
Very soon I found I’m not going to download the images by hand. Firstly, there were too many images, and moreover, they had very random names such as aovOSMvLW8Zlf.jpg.
Then I stumbled upon this nice little script written by Marcin Wichary. The script is called twitter-export-image-fill. It was initially released in 2016 and the most recent update was a month ago and it had good reviews 241, so I supposed it is worth a try. I downloaded the ZIP file and read the instructions:
- Request your Twitter archive from the bottom of https://twitter.com/settings/account.
- Wait for the email.
- Download the archive from the email.
- Unpack it somewhere.
- Go to the root directory of that archive and run `twitter-export-image-fill.py` there (using terminal/command line).
I’ve already done the first 4 items on the list, so the only thing that’s left to do was to run the script. Most computer users probably won’t have any issues with downloading the archive and the script, but how does one run it? If you’re already familiar with command line, then just run the code. However, if don’t know where to start, it’s explained in detail below.
The script ends with ‘.py’ which means it’s written in Python. To run a Python script, you have to have Python installed on your computer first. Find the latest release here, and install it as any other app.
Now move the twitter-export-image-fill.py file from the downloaded script to the root folder of your Twitter archive. That means it will be in the main folder where the index.html browser interface is saved.
Note: At this point, I will continue to write about how to do this on a Mac. I don’t think it’s not that different on a PC.
Open Terminal. It’s a command line app that is built into your OS X. At first sight, it looks like a TextEdit (Notepad), but the lines you write there behave like commands and actually do stuff.
First you want to let Terminal know in which folder you want to work in. Type in “cd” (stands for “change directory”) and the path to the archive folder. Example:
cd /Users/Natalia/Desktop/Twitter_archive_folder/
Hit Enter.
Although it might look like nothing much happened, you’re on the right track, Now type:
python twitter-export-image-fill.py
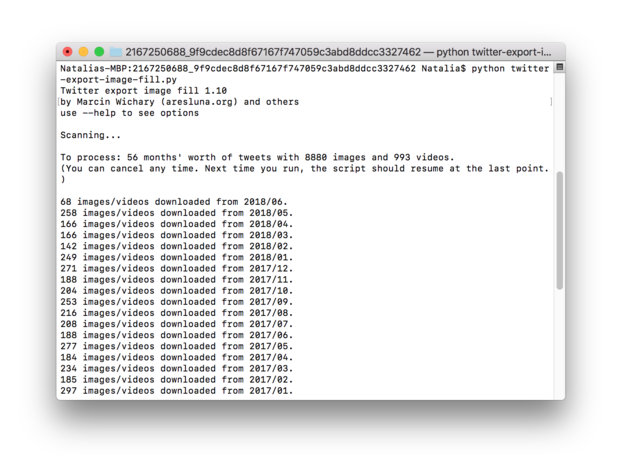
Hit Enter. The script should start running right now. If the Terminal’s answer is “Scanning” and “XY images/videos downloaded”, then all is good.
You can also check your Twitter archive folder. Open the main folder, then navigate through these sub-folders: /main folder/data/js/tweets/. In the /tweets folder, you will find images divided into folders according to date when they were published. The folders’ name structure is year_month_media (e.g. 2017_02_media) and the images have similarly structured names, too. This is a nice feature because you don’t end up with a bunch of randomly-named images all mixed together.
And there’s one more interesting thing that caught my attention during downloading the photos. The script has this small disclaimer:
(You can cancel any time. Next time you run, the script should resume at the last point.)
If you have loads and loads of photos, the download process can last quite some time. Mine took a few hours, so I decided I will test this feature. I started the download in the office on my laptop. In the evening I simply closed my computer, with the script running, and went home. The script stopped, obviously. To resume the script, just type in the same commands as you did when you started, and the download will resume. When finished, you’ll get this answer (of course with numbers relevant to you):
Done!
475 images downloaded in total.

993 videos have **NOT** been downloaded.
If you want, use the include-videos option to download videos.
For more info, use --help, or look at https://github.com/mwichary/twitter-export-image-fill<br type="_moz" />
NM00SK

Natália Klenovská
Born and raised in Bratislava. Co-organiser at IFF Cinematik, and WordCamp Bratislava. Loves music, DIY, adrenaline, and people.


Leave a Reply