List of contents:
- Introduction
- Creating a new Push Zone
- Uploading videos to the Push Zone
- Adding a Zonealias (optional)
- Adding the video URLs to FV Player
- Example
Introduction
KeyCDN is an easy to use and very affordable content delivery network, that allows you to host your videos, encrypt them with a secure token and serve them with FV Player Pro. This guide will show you how to set up a Push Zone in KeyCDN dashboard, how to upload files via FTP client, and how to insert the videos into the FV Player.
Creating a new Push Zone
To upload your videos to KeyCDN, you will of course need an active account and you will also need an FTP client. We recommend using WinSCP for Windows, or CyberDuck for Mac, but you can use whatever suits you.
- Go to the KeyCDN dashboard, select the Zones tab in the menu on the left and clicking the Add zone button.
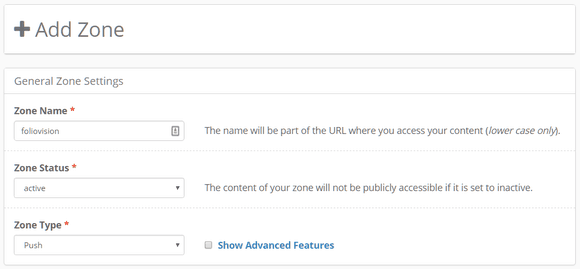
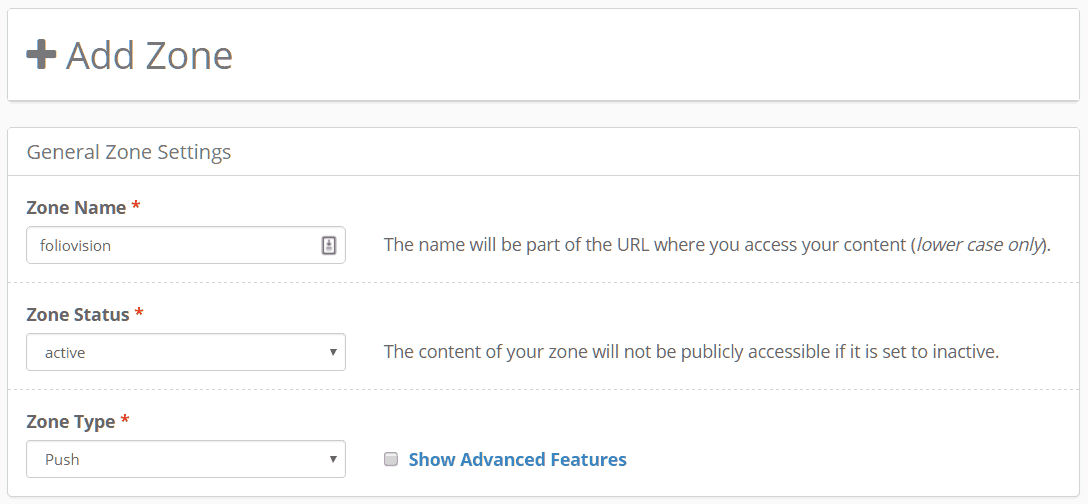
- Fill in the name of the zone - this will be reflected in the URL of the zone. The Zone Status should remain active, as is set by default. Select Push as the Zone Type – the type of zone for hosting files that are larger than 10mb.
- If you want to secure your videos distributed from this zone, click on Show Advanced Features. Scroll down to the Secure Token option and switch to Enabled. A new option will appear - Secure Token Key. Here you can write the secure key that will be used to access your content. Use alphabetical and numerical characters and keep the length between 4 and 15 characters. Also set the SSL certificate option to Shared.

KeyCDN Push zone security optionsWhen done, click Save.
- Now you will be back in the Zones screen and you can see the details of your new Push Zone. It will have the Deploying status at first, but the deployment shouldn’t take too long and it will soon change to Active. You can also see the Zone URL here, which will be necessary in the next steps.
Creating a new Push zone

Uploading videos to the Push Zone
This step will require the FTP client mentioned above. The next steps will be recorded with using the WinSCP.
- Open your FTP client and use the following data for logging in KeyCDN:
- Hostname: ftp.keycdn.com
- Port: 21
- Username: – user name you use for logging into KeyCDN dashboard –
- Password: – password you use for logging into KeyCDN dashboard –
- File protocol: FTP
- Encryption: TLS/SSL Explict encryption
 Logging into KeyCDN FTP with WinSCP
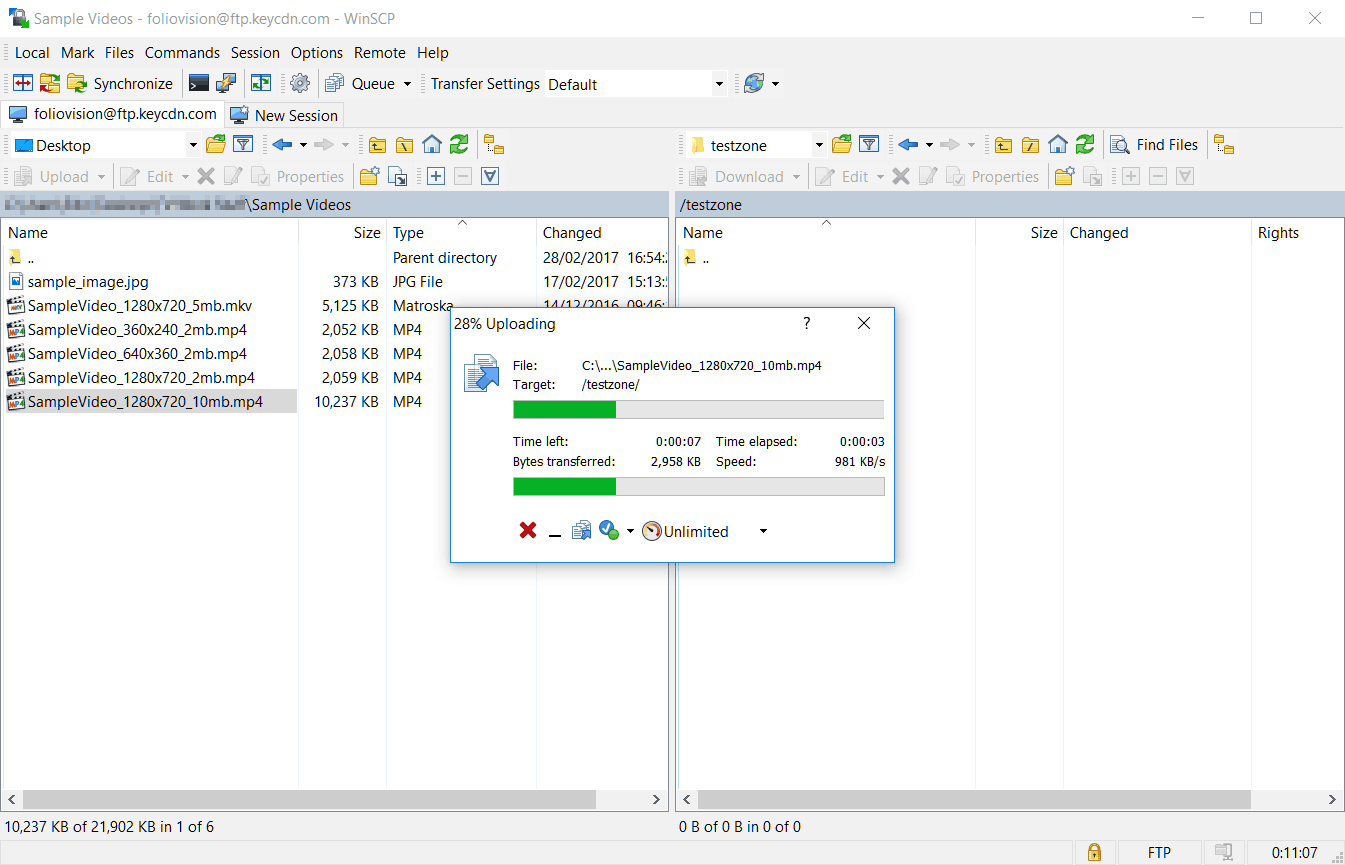
 - After logging in, you will see the file management screen. On the left, you will see your own files and on the right the actual FTP content with all the push zone names – in our case it’s the “testzone”. Upload the video files (and optionally splash images) to the FTP – the easiest way is just to drag & drop them. It’s all done after upload is complete, no other steps are necessary.


Uploading the files to KeyCDN FTP
Adding a Zonealias (optional)
KeyCDN allows you to create a custom CDN URL, for example cdn.my-zone-name.com, that can be used instead of the default my-zone-name-38c2.kxcdn.com. Keep in mind, that when you do this after you used the default URL, you will have to change the links in each video shortcode.
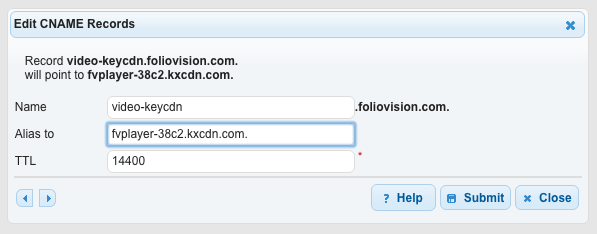
The first step is to create a CNAME record in your DNS, for example:
video-keycdn.foliovision.com. CNAME my-zone-name-38c2.kxcdn.com.

Adding a CNAME record to DNS
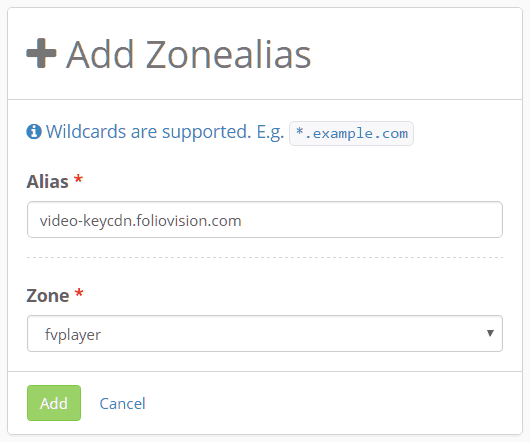
Now you can add the new Zonealias. You can do so in KeyCDN dashboard > Zonealiases > Add Zonealias. Fill in the data and click Add.

Adding a new Zonealias
If you were using the push zone with the default ’38c2.kxcdn.com’ URL, don’t forget to change it for the new KeyCDN domain name in Settings > FV Player Pro > Hosting tab > KeyCDN. Now you can use your new custom URL.
Adding the video URLs to FV Player
Adding the videos from KeyCDN to FV Player is easy.
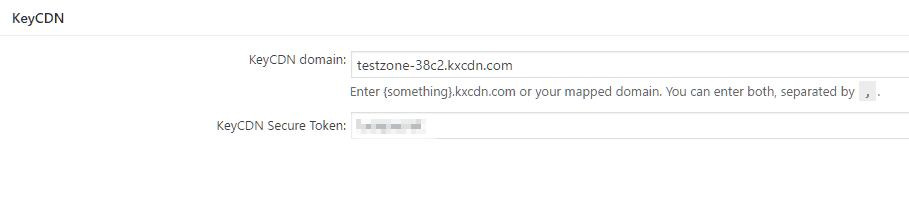
- First, you will have to add the secure token in Settings -> FV Player Pro -> Hosting tab -> KeyCDN. Here are two fields:
- KeyCDN domain – add the Zone URL of your Push Zone. It will have a similar format like this – fvplayer-38c2.kxcdn.com. You can find the URL in the Zones tab in KeyCDN dashboard. You can also use the Zonealias, if you have created one, for example video-keycdn.foliovision.com.
- KeyCDN Secure Token – fill in the secure token key you have created in the previous steps. You can always find it in the Push Zone settings, which can be accessed by clicking Manage -> Edit (on the right side of Zones screen).

Setting up KeyCDN hosting in FV Player ProAfter you are done, click Save All Changes.
- Now open the FV Player’s shortcode editor. You will have to manually put together the URL from three parts: https:// prefix, Zone URL or Zonealias, and path to the video from the FTP. Using the user data from earlier parts of this guide, we will get an URL like this: https://fvplayer-38c2.kxcdn.com/your-video.mp4, or with the Zonealias https://video-keycdn.foliovision.com/your-video.mp4. Notice there is no zone name (“testzone”) in the file path as it’s already in the CDN domain.
The same pattern will be used for adding a splash image. After you add the URL into the shortcode editor, just click Insert and you’re all set.
Example
