Basics
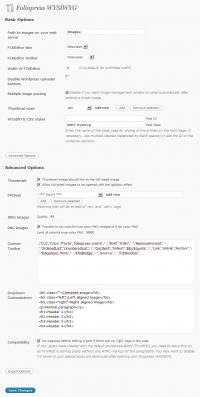
Foliopress WYSIWYG Options Screen
The basic installation is very simple and straightforward – same as for every good WordPress plugin. If you are not sure how to do it, John Godley wrote a really nice article about it – How to install a WordPress plugin.
Make sure that the “Disable the visual editor when writing” option in user profile is off, this disables any editor including Foliopress WYSIWYG.
Server requirements
Foliopress WYSIWYG runs fine on nearly all the hosts without any configuration issues, but in case you experience some troubles, check that:
- Your site is running on PHP 5
- PHP Safe Mode is turned off
- is_dir and open_dir restrictions are turned off
Ask your webhosting administrator about this.
Continue reading this article if you want to know more about how to get maximum out of Foliopress WYSIWYG. First open the options page. You will find it under Settings -> Foliopress WYSIWYG.
Advanced
First go to Settings -> Foliopress WYSIWYG in your WordPress admin panels.
Max Image size width and height
All images bigger than these dimensions will be sized down to fit into it. The goal of this feature is to limit the size of the image which appears when the thumbnail in a post is clicked.
However, if the images is too big, an error message will be displayed. Images above certain size just can’t be handled with PHP on regular shared hosting accounts. We are talking about 5MB JPEGs here – the memory consumption for processing such image is enormous.
Thumbnail sizes
You can use the Thumbnail sizes drop down with the nearby add and remove buttons to add the thumbnail sizes of your choice. The biggest size should fit closely into you content column.
Proper WYSIWYG operation: Setting Up CSS
- Enter the class or id of HTML element which is enclosing your post content in your WordPress template into WYSIWYG CSS Styles fields.
- Save the changes, clear your browser cache, reload the post editing screen with Foliopress WYSIWYG and enjoy.
Since setting this up may be tricky here are some examples:
- If you have default template (in WP 2.2, 2.3, …) the Post ID is ‘content’ and the Post Class is ‘post’.
- If you take a look at this site source code (try looking on main page) Post ID is ‘primary’ and Post Class is ‘entry’.
- If your template features a background image which is also displayed in Foliopress WYSIWYG, you can add some extra CSS into the Custom WYSIWYG CSS text area (it will apply only to what’s in the editor). This simple declaration should give you the idea:
body { background: transparent; } - To make sure the editing screen has the proper width add the following into the Custom WYSIWYG CSS:
body { width: %enter your content width% px; } - Use the same trick if the letters are displayed in a wrong size, just add the proper font-size.
- If some HTML element (for example headers) are missing the styling, you need to copy the style declarations to the Custom WYSIWYG CSS text area as in this example:
h2 { all the required styling}Also, if some HTML element is not properly styled, check out its style declarations – are they using some container element other than what’s in your Post ID and Post Class fields in Foliopress WYSIWYG settings?
If your template is nicely done and well organized, you should have no problems, but here are some more general rules for troubleshooting template issues and WYSIWYG:
-
Make sure your template is not setting padding, margin, border and similar CSS properties to zero for all the possible HTML elements. Some templates have declarations like this on one of the first lines and that’s why some of the advanced styling in our editor might not be behaving as expected:
html, body, div, span, applet, object, iframe,h1, h2, h3, h4, h5, h6, p,
blockquote, pre,a, abbr,acronym, address, big, cite, code,del,dfn, em,
font, img, ins, kbd, q, s, samp,small, strike, strong, sub, sup, tt, var,
b, u, i, center,dl, dt, dd, ol, ul, li,fieldset, form,label, legend,table,
caption, tbody, tfoot, thead, tr, th, td {
margin: 0;
padding: 0;
border: 0;
outline: 0;
font-size: 100%;
}
-
If your template CSS is spreading across multiple files, which are not loading from the basic style.css file, make sure you import the additional styles in Custom WYSIWYG styles. This applies mainly for themes which let’s you choose one of multiple colors or provide a custom stylesheet for your modifications:
@import url('http://yoursite.com/wp-content/themes/theme/custom.css');
Alternatively, you can use ‘custom-config/foliopress-editor.css’ to setup all the styling.
Lightbox effect for images
You need to use a plugin like WP Slimbox 2. Foliopress WYSIWYG adds rel=”lightbox” to the inserted thumbnail images, so the big images open with the lightbox effect when that plugin is installed.
Expert
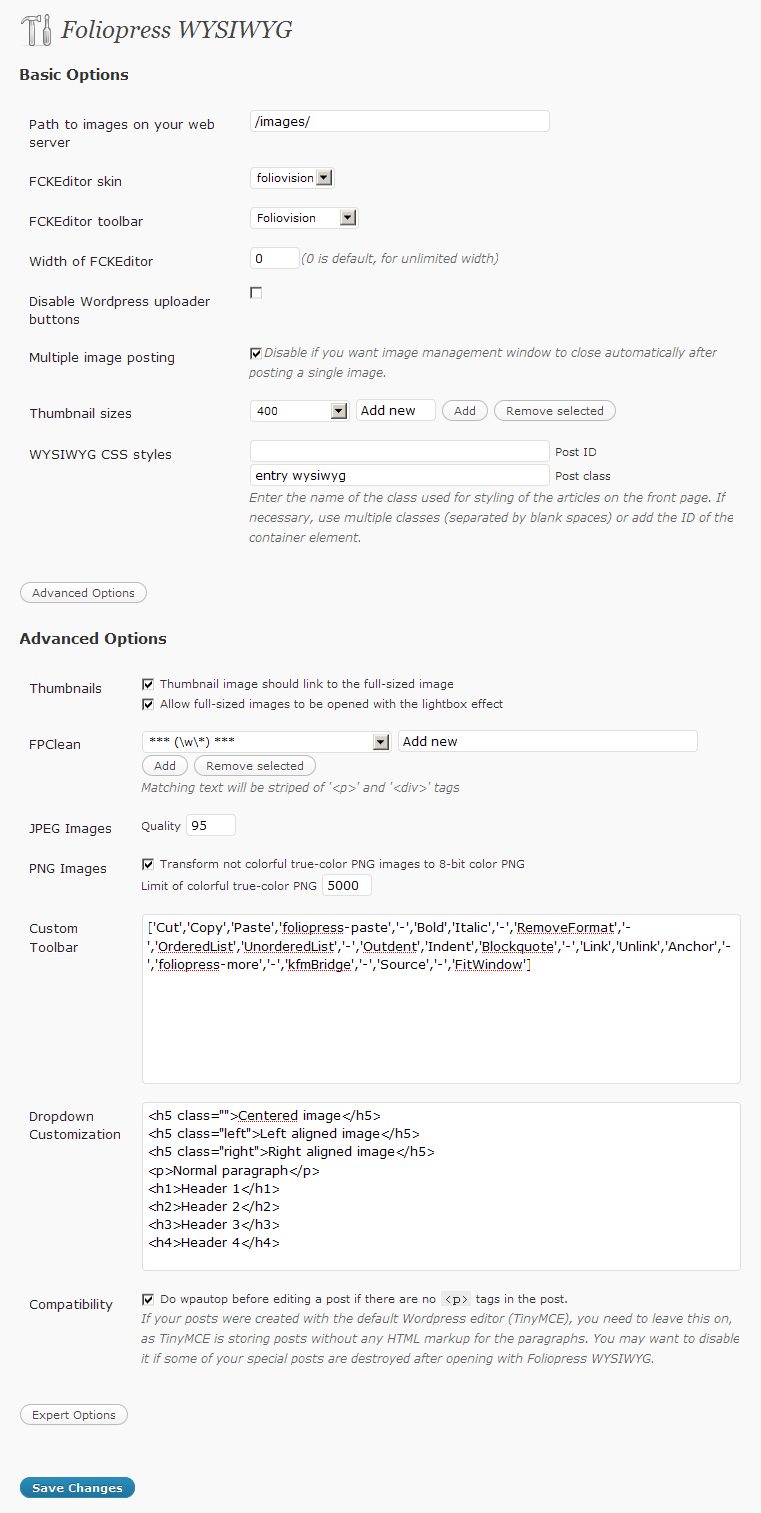
You have to open the Advanced Options on the plugin settings screen.
Dropdown customization
We don’t recommend you playing with this unless you have some bigger HTML/CSS experience.
Check out Dropdown Customization field in the options and you will get the idea. Here’s an example of how you add a new item for red colored text:
- Add the following into the dropdown customization field:
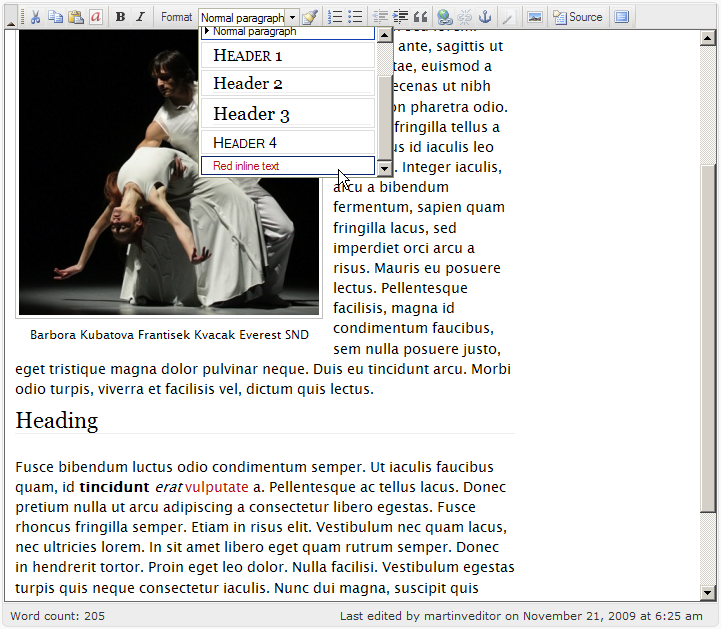
<span class="red-text">Red inline text</span>
- Add the following into your template’s style.css
.red-text { color: red; } - You will get the result like on the following picture:
Another example of custom dropdown items. Notice the empty class attribute in the first item which is there to cancel any class added by the other two items:
<h4 <strong>class=""</strong>>Level 4 header</h4>
<h4 class="color">Level 4 header with color</h4>
<h4 class="logo">Level 4 header with picture</h4>

Foliopress WYSIWYG
Toolbar customization
We don’t recommend you playing with this unless you have at least basic programming experience.
Make sure you change FCKEditor toolbar in the plugin options dialog to Custom.
Here’s a list of all the items you can use in the custom toolbar field. The default content of the Custom Toolbar text field should give you the idea how to do it. Each […] represents one toolbar row.
[‘Cut’,’Copy’,’Paste’,’foliopress-paste’,’Bold’,’Italic’,’RemoveFormat’,
‘OrderedList’,’UnorderedList’,’Outdent’,’Indent’,’Blockquote’,’Link’,’Unlink’,’Anchor’,
‘foliopress-more’,’kfmBridge’,’Source’,’FitWindow’,’DocProps’,’Save’,
‘NewPage’,’Preview’,’Templates’,’PasteText’,’PasteWord’,’Print’,’SpellCheck’,
‘Undo’,’Redo’,’Find’,’Replace’,’SelectAll’,’Form’,’Checkbox’,’Radio’,’TextField’],[‘Textarea’,’Select’,’Button’,’ImageButton’,’HiddenField’,’Underline’,’StrikeThrough’,
‘Subscript’,’Superscript’,’JustifyLeft’,’JustifyCenter’,’JustifyRight’,’JustifyFull’,’Image’,
‘Flash’,’FVWPFlowplayer’,’Table’,’Rule’,’Smiley’,’SpecialChar’,’foliopress-next’,’TextColor’,’BGColor’,’About’],[‘Style’,’FontFormat’,’FontName’,’FontSize’]
Symbol / can be used to start another row. To use it properly, you must first close the angled brackets after the last item in the first row and start another angled brackets right after the new row symbol.
One row toolbar:
['Cut','Copy','Source','-','FitWindow']
Two row toolbar:
['Cut','Copy'],'/',['Source','-','FitWindow']
ImageMagick
ImageMagick provides superior image quality than standard PHP GD library – check out Photoshop vs. ImageMagick vs. GD comparison.
The ImageMagick binary must be executable from PHP and be available as /bin/convert. We will add automated checks for graphic libraries in one of the next releases.