Here’s an illustrated guide on how to use WordPress’s best and most SEO friendly image editor, SEO Images – part of Foliopress WYSIWYG.
If you want to have the best experience with Foliopress WYSIWYG you must first ensure it’s properly configured with your WordPress theme- check out the installation guide or speak to your website administrator.
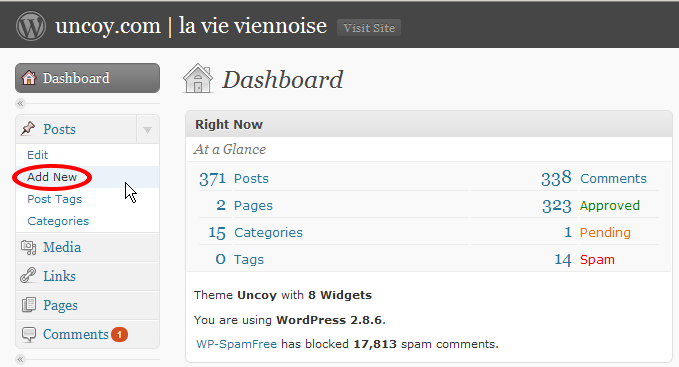
- Log in into your WordPress Administration panel. It’s http://your_domain_name.com/wp-login.php or http://your_domain_name.com/edit
- Hit Add New in the WordPress Administration menu

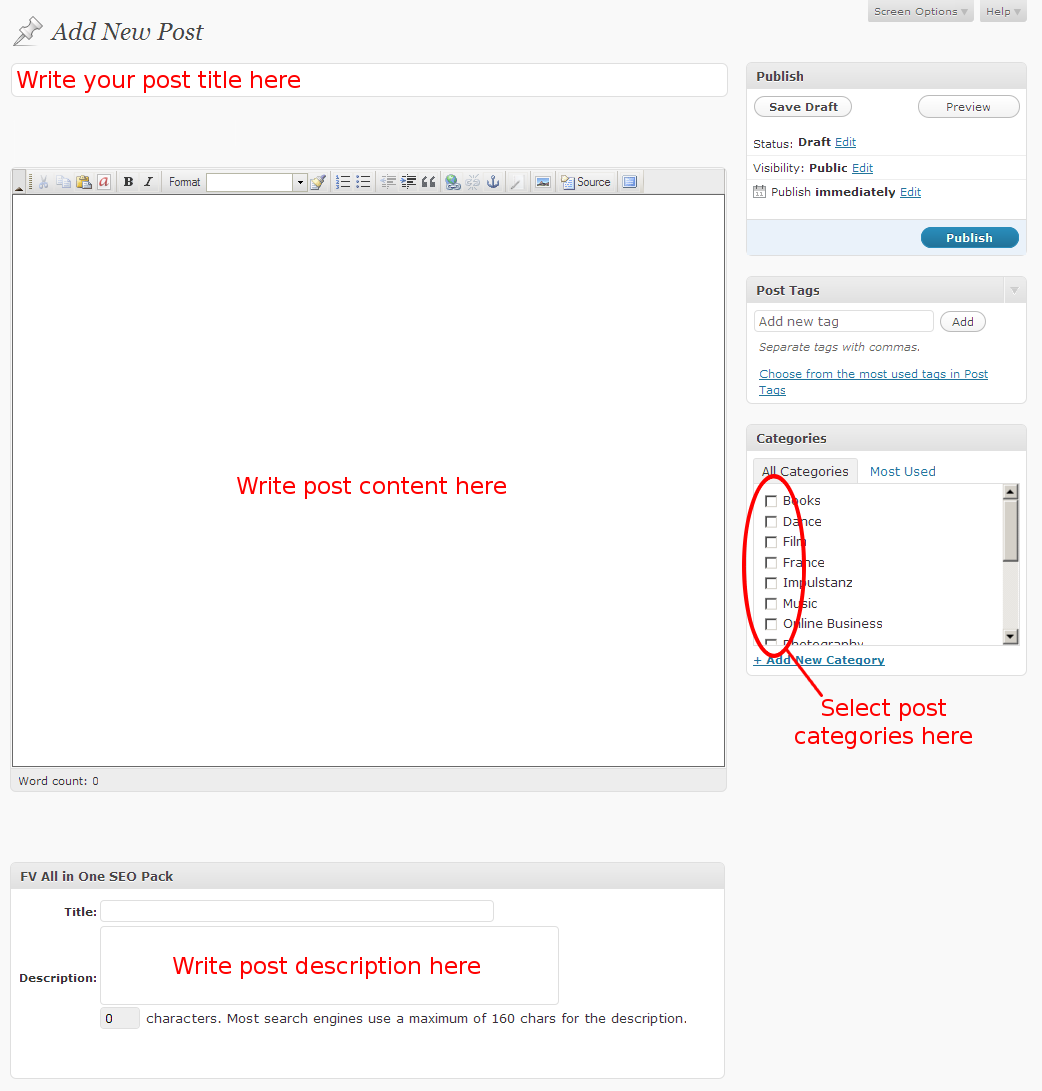
Add a New Post - Write post title, post content and select the proper category. You should also write the description for the post, which will be used by search engines. Make it short and catchy, describing what’s the post about.
(the description field displayed in the screenshot is provided by one of our plugins; there might be some more boxes displayed)
WordPress post editing screen - Click into the text where you want your image to be inserted and then hit Quick Insert Image button in the toolbar and a image management window will appear

Foliopress WYSIWYG – Inserting image
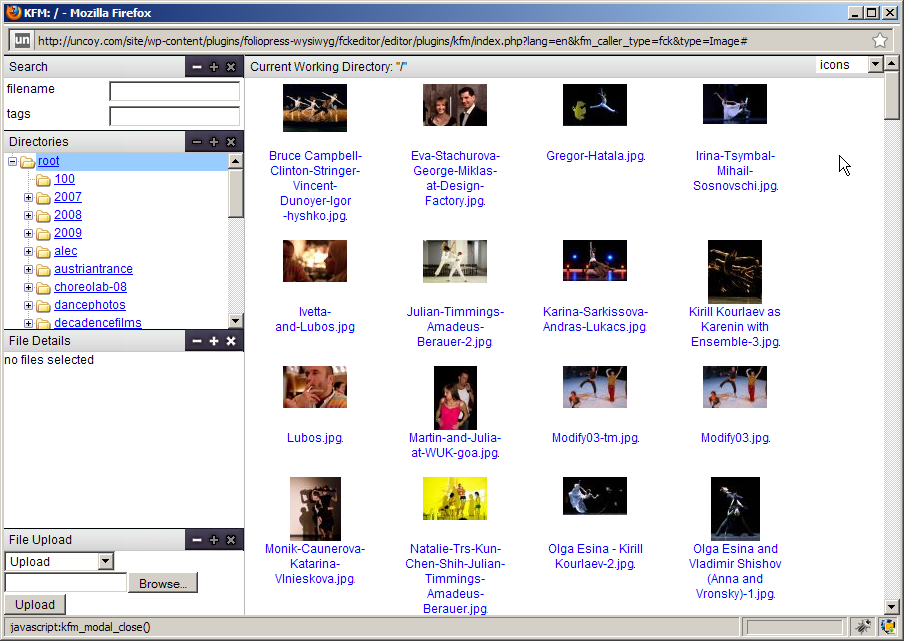
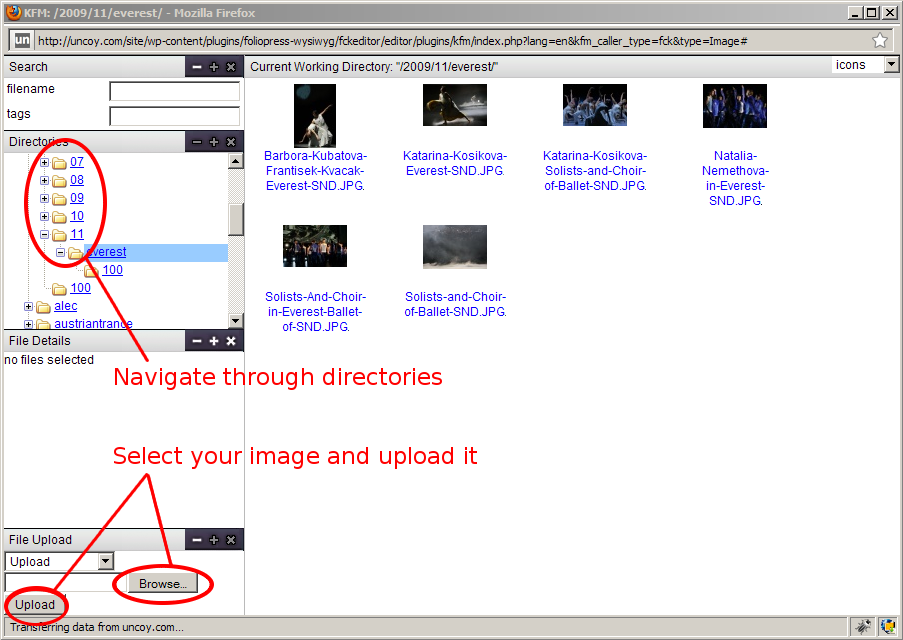
Foliopress WYSIWYG – Image Management - Navigate through the directories and upload your image files
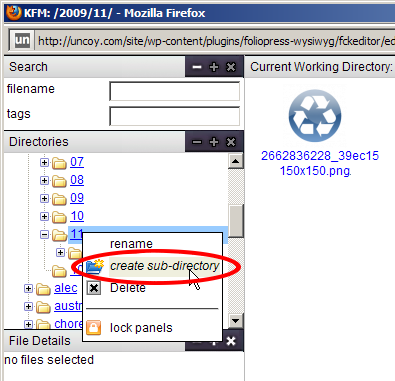
Foliopress WYSIWYG – Image Management - You might want to create some subdirectories to keep your images in order. We recommend using year/month directories (e.g.: //cdn.foliovision.com/2009/11/image.jpg)

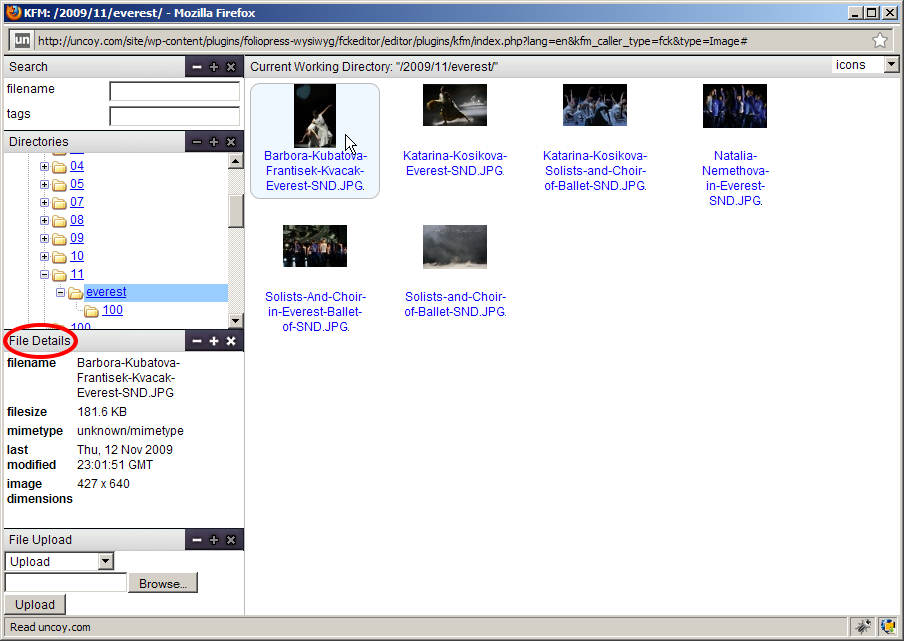
Create a reasonable directory structure for images - You can check out image details by moving your cursor over it
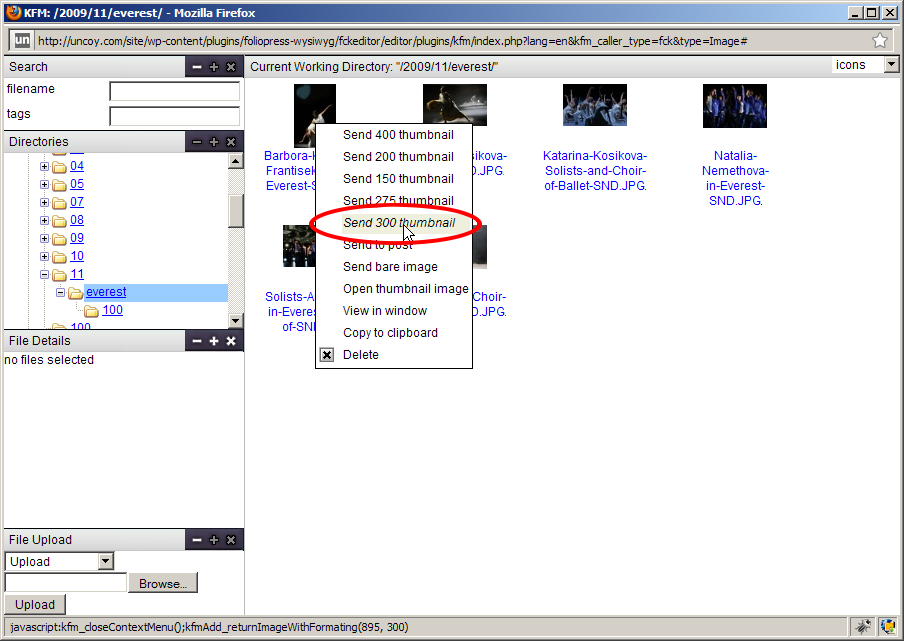
Foliopress WYSIWYG – Image Management - Right click the image and select a size of thumbnail which will be sent to the post. In case you don’t want to use the thumbnail, just select Send to post.
If you want to have some different thumbnail sizes available, you can change it in the plugin options.
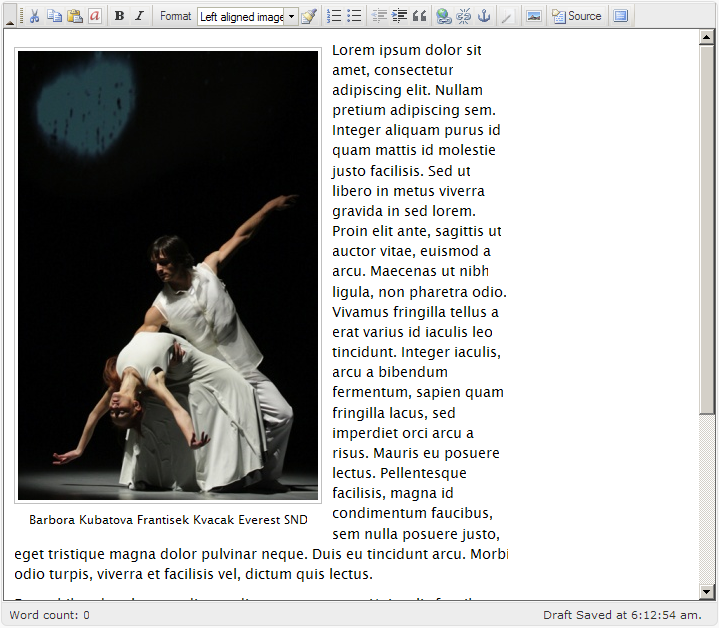
Foliopress WYSIWYG – Image Management - Close the image management window or just switch back to your browser window to see the inserted image. You can leave it open, just move the cursor in the post and then insert another image there.
You might want to rewrite its caption.
Foliopress WYSIWYG – Image inserted - You can align the image (note that your theme must contain the proper classes; check out installation guide)

Foliopress WYSIWYG – Image alignment step 1.
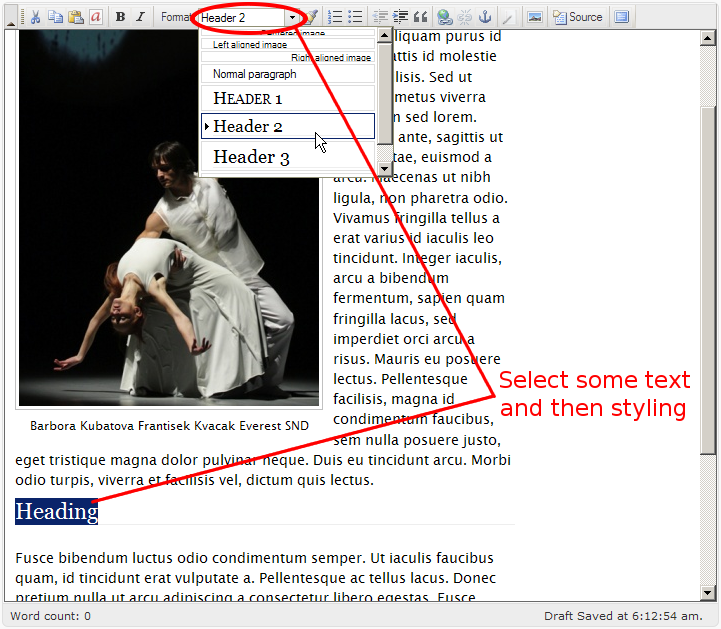
Foliopress WYSIWYG – Image alignment step 2. - You can add some heading with ease.

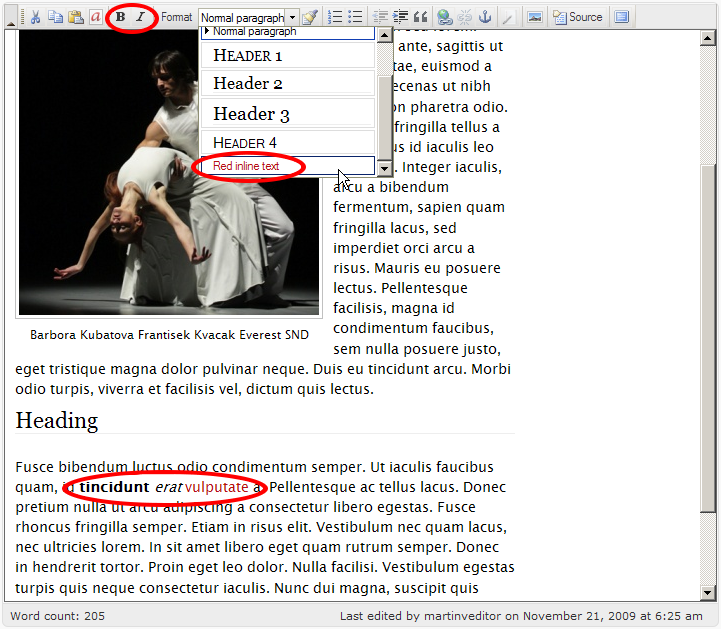
Foliopress WYSIWYG – Adding headers - You can add some extra styling to the text (please review check out installation guide on how to add move styles into drop-down menu).
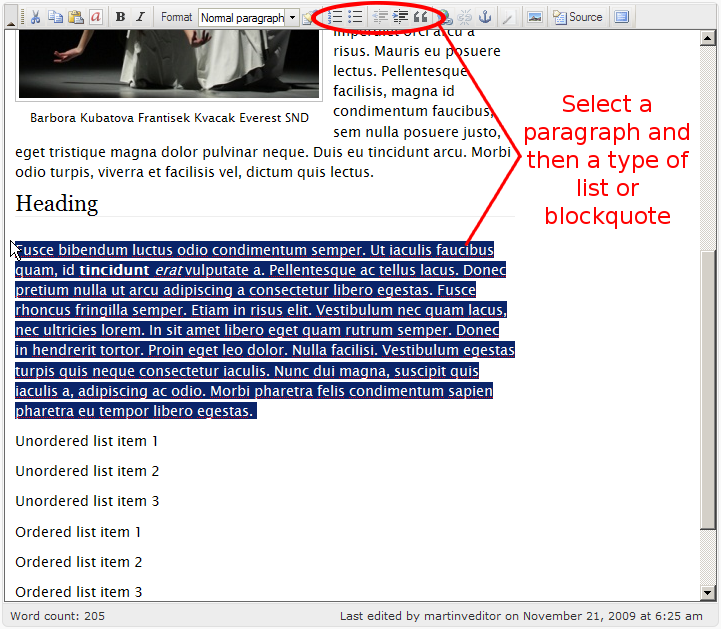
Foliopress WYSIWYG – Styling - Lists and blockquotes are also provided:
Foliopress WYSIWYG – List and blockquotes step 1.
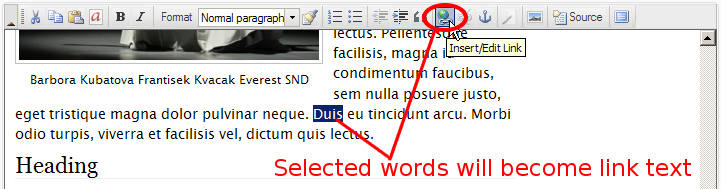
Foliopress WYSIWYG – List and blockquotes step 2. - This is how you add a link:

Foliopress WYSIWYG – Add a link step 1.
- Write the link URL. You might want to change the link target to open in new window.

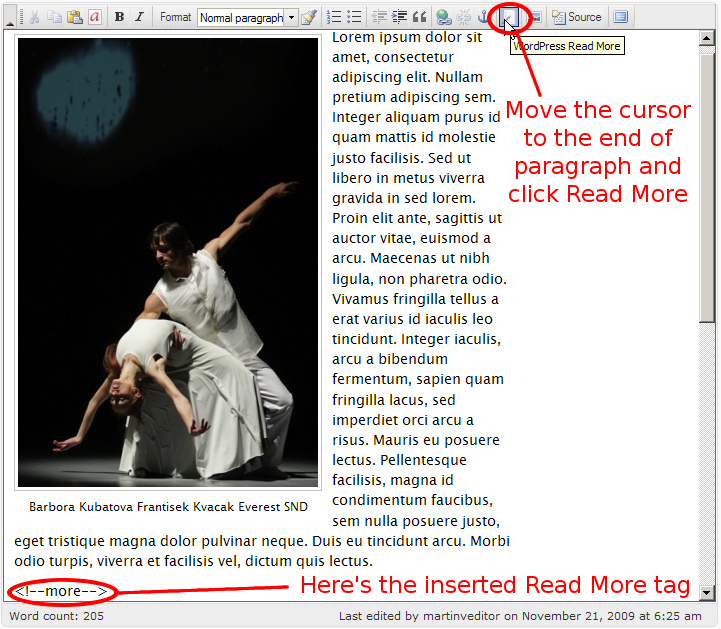
Foliopress WYSIWYG – Add a link step 2. - If your theme supports it, you can add a Read More tag which will break the article into two parts. The first part will be displayed on the frontpage together will the “Read More” link, linking to the full article.
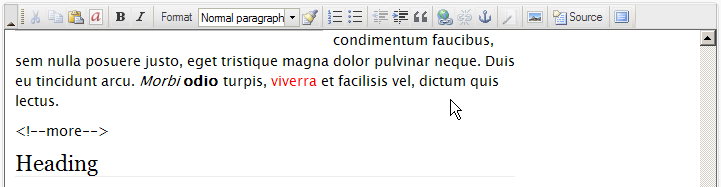
Foliopress WYSIWYG – Read More - If you want to remove the styling, follow these steps:

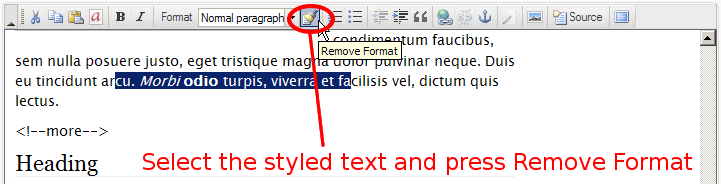
Foliopress WYSIWYG – Remove styling step 1.
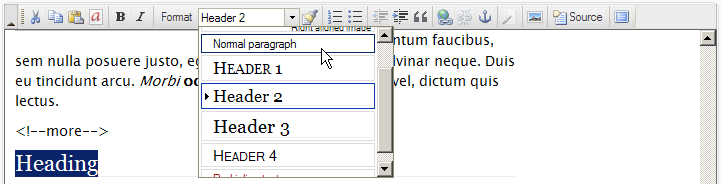
Foliopress WYSIWYG – Remove styling step 2. - You can also remove the heading with ease, just select Normal paragraph:
Foliopress WYSIWYG – Remove styling step 3. - The last step is to Publish the article.