List of content:
Introduction
Restrict Content Pro is a simple WordPress membership plugin allowing you to restrict parts of the content to be accessible only for the logged-in users. You can restrict parts of the posts via shortcodes, or restrict whole pages/posts as well.
The Pro version allows you to split users into unlimited number of subscription levels and manage them. Pro version of RCP also allows you to manage your content, track payments and much more.
Free version of the RCP
Restrict Content is a free version of the RCP plugin offering few core features of the pro version.
It allows you to restrict content to be accessible only for logged-in users via shortcodes within your posts.
How to download the free version of RCP
Simply go to: WP Admin dashboard -> Plugins -> Add new -> Search for “Restrict Content” -> Hit “Install now” button

And then hit “Activate”.
How to set-up the free version of RCP
Navigate to: WP Admin dashboard -> Settings -> Restrict Content

On this page you’re allowed to set up following settings:
1. In this field you can set up a message that will be displayed when user without the appropriate permissions reaches any restricted content
2. In these fields, you can set up different messages displayed for each user level when already logged-in user without appropriate permissions reaches any restricted content
How to restrict a FV Player video
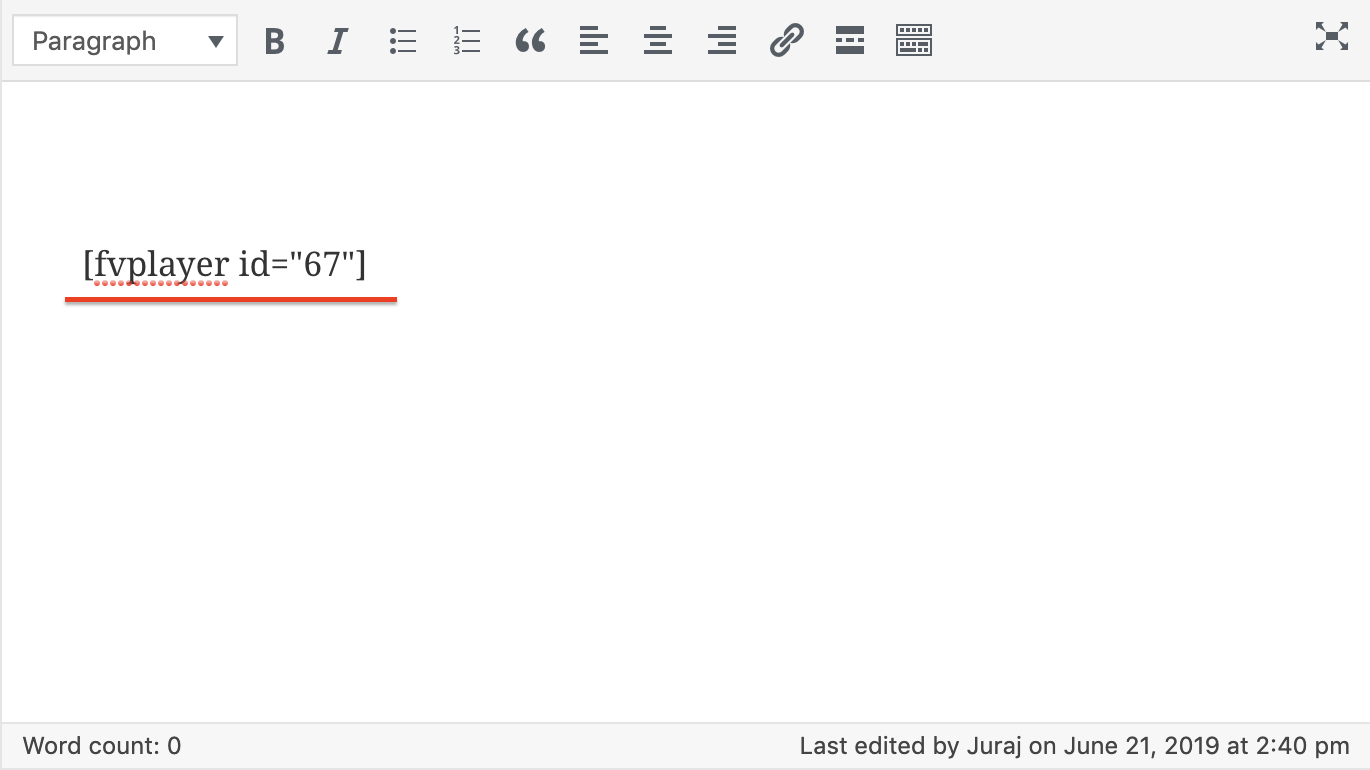
Open the post and insert the shortcode of the video that you want to restrict.
Now pack that video shortcode into the [restrict … ] …. [/restrict] shortcode tags.
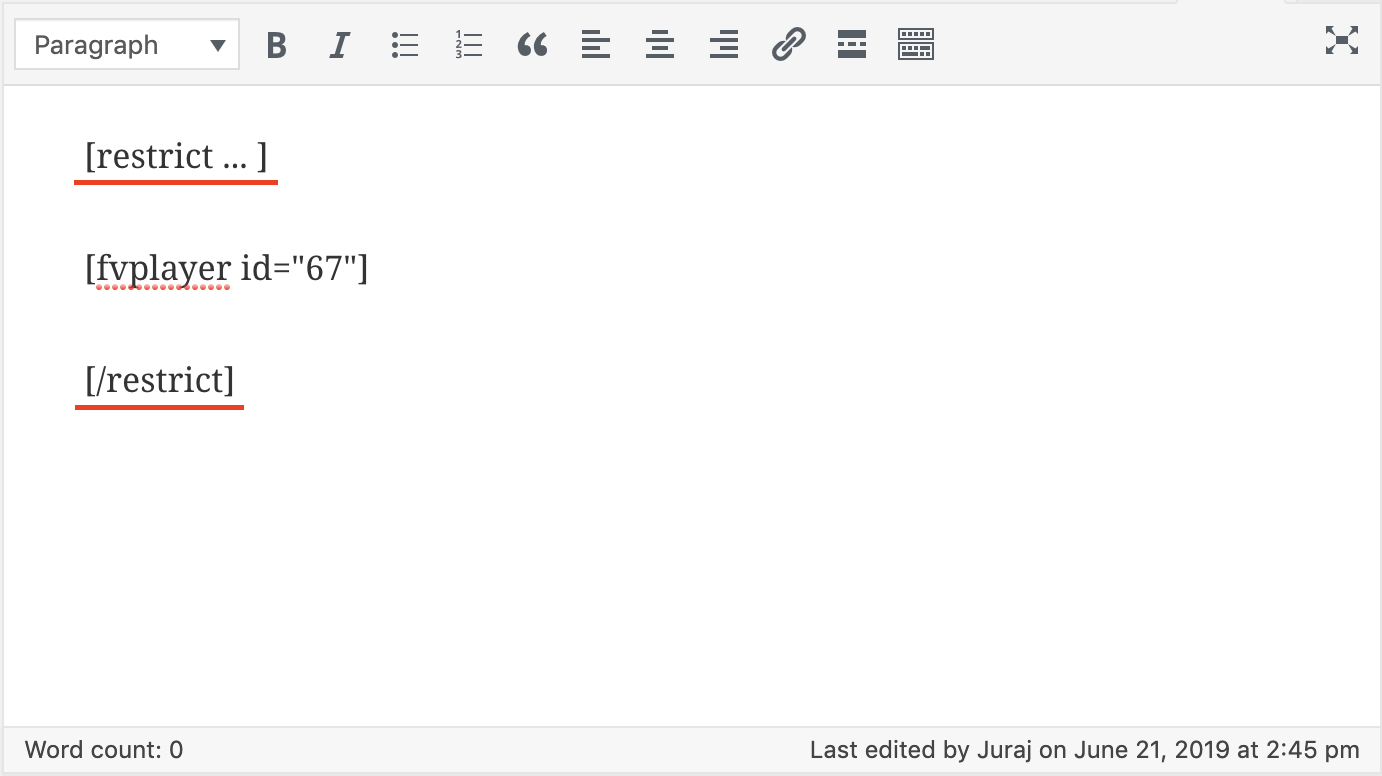
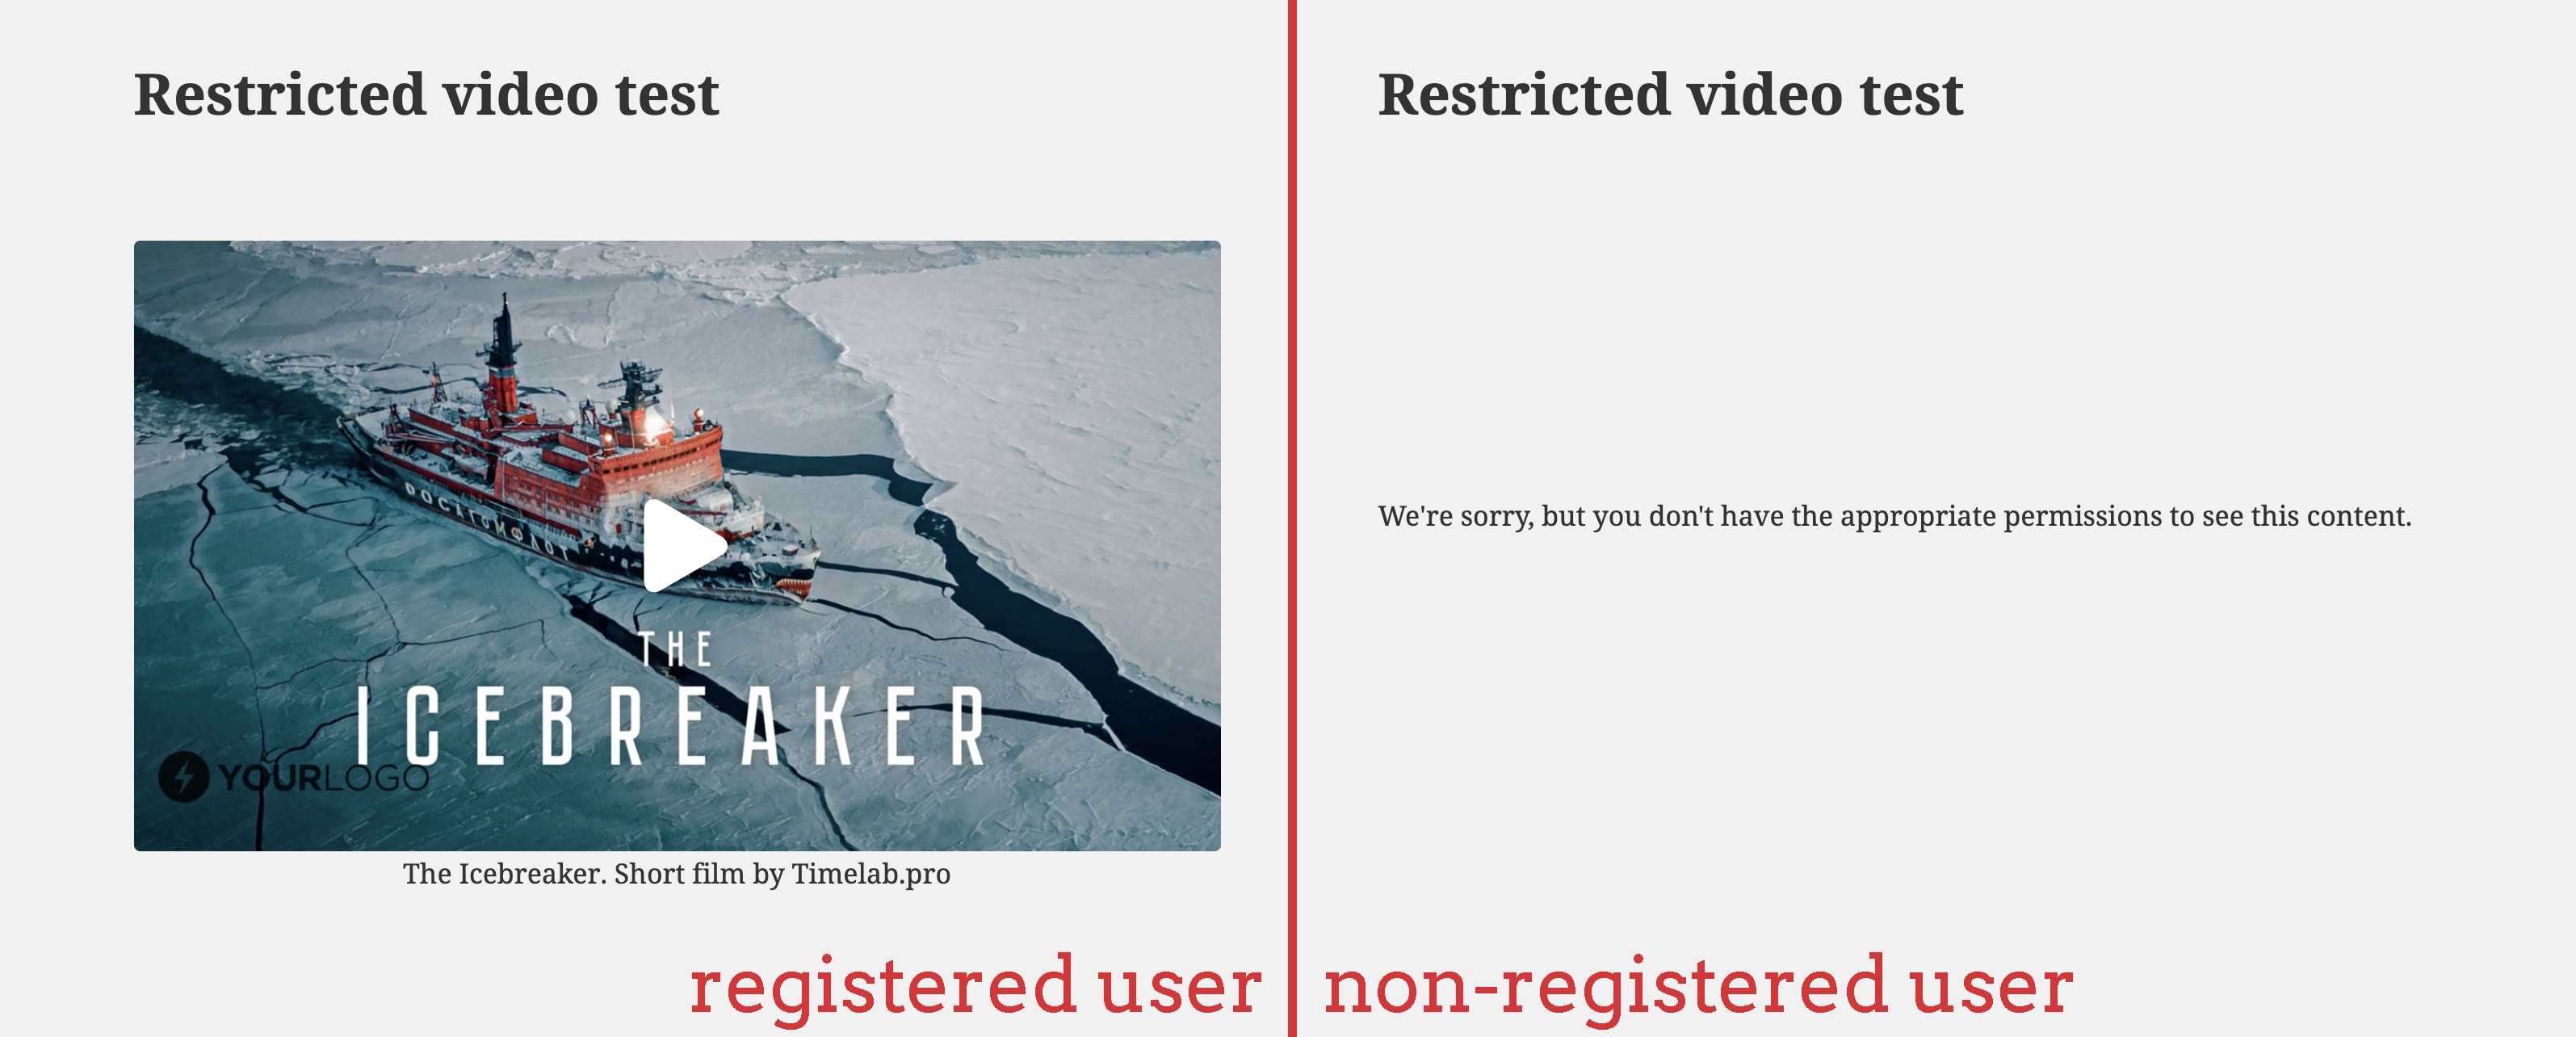
Now your video is restricted for non-registered users.
Note: You can also restrict content based on user level by adding the {userlevel} tag to the restrict shortcode.
Paid version of the RCP
Paid version of the Restrict Content Pro let’s you split your users into different membership levels, manage and restrict your content, and set payment gateways for your users to join your subscription plans.
How to install paid version of the RCP
1. Visit https://restrictcontentpro.com
2. Log into your account and download the plugin.

3. Open your WordPress back-end
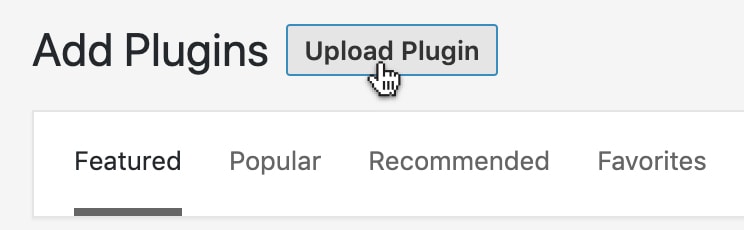
4. Open Plugins -> Add new

5. Click on Upload Plugin
6. Find the .zip file and install the plugin
General settings of the paid version of RCP
To change general setting of the RCP, you need to go to:
WP Admin Dashboard -> Restrict -> Settings -> General
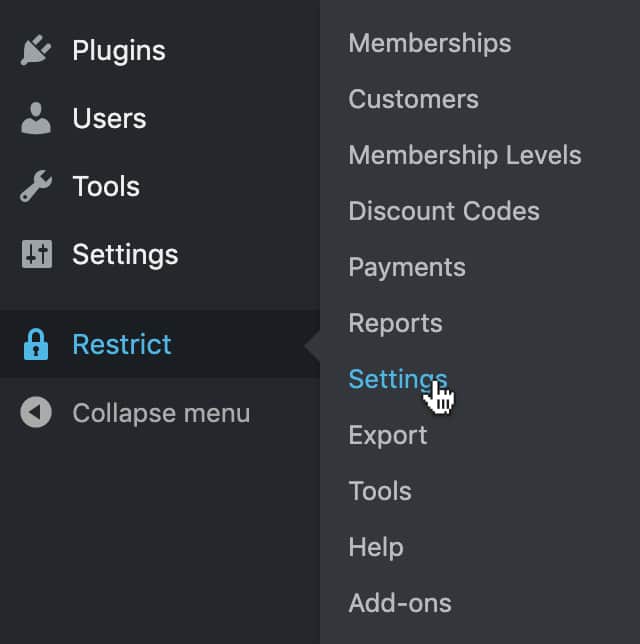
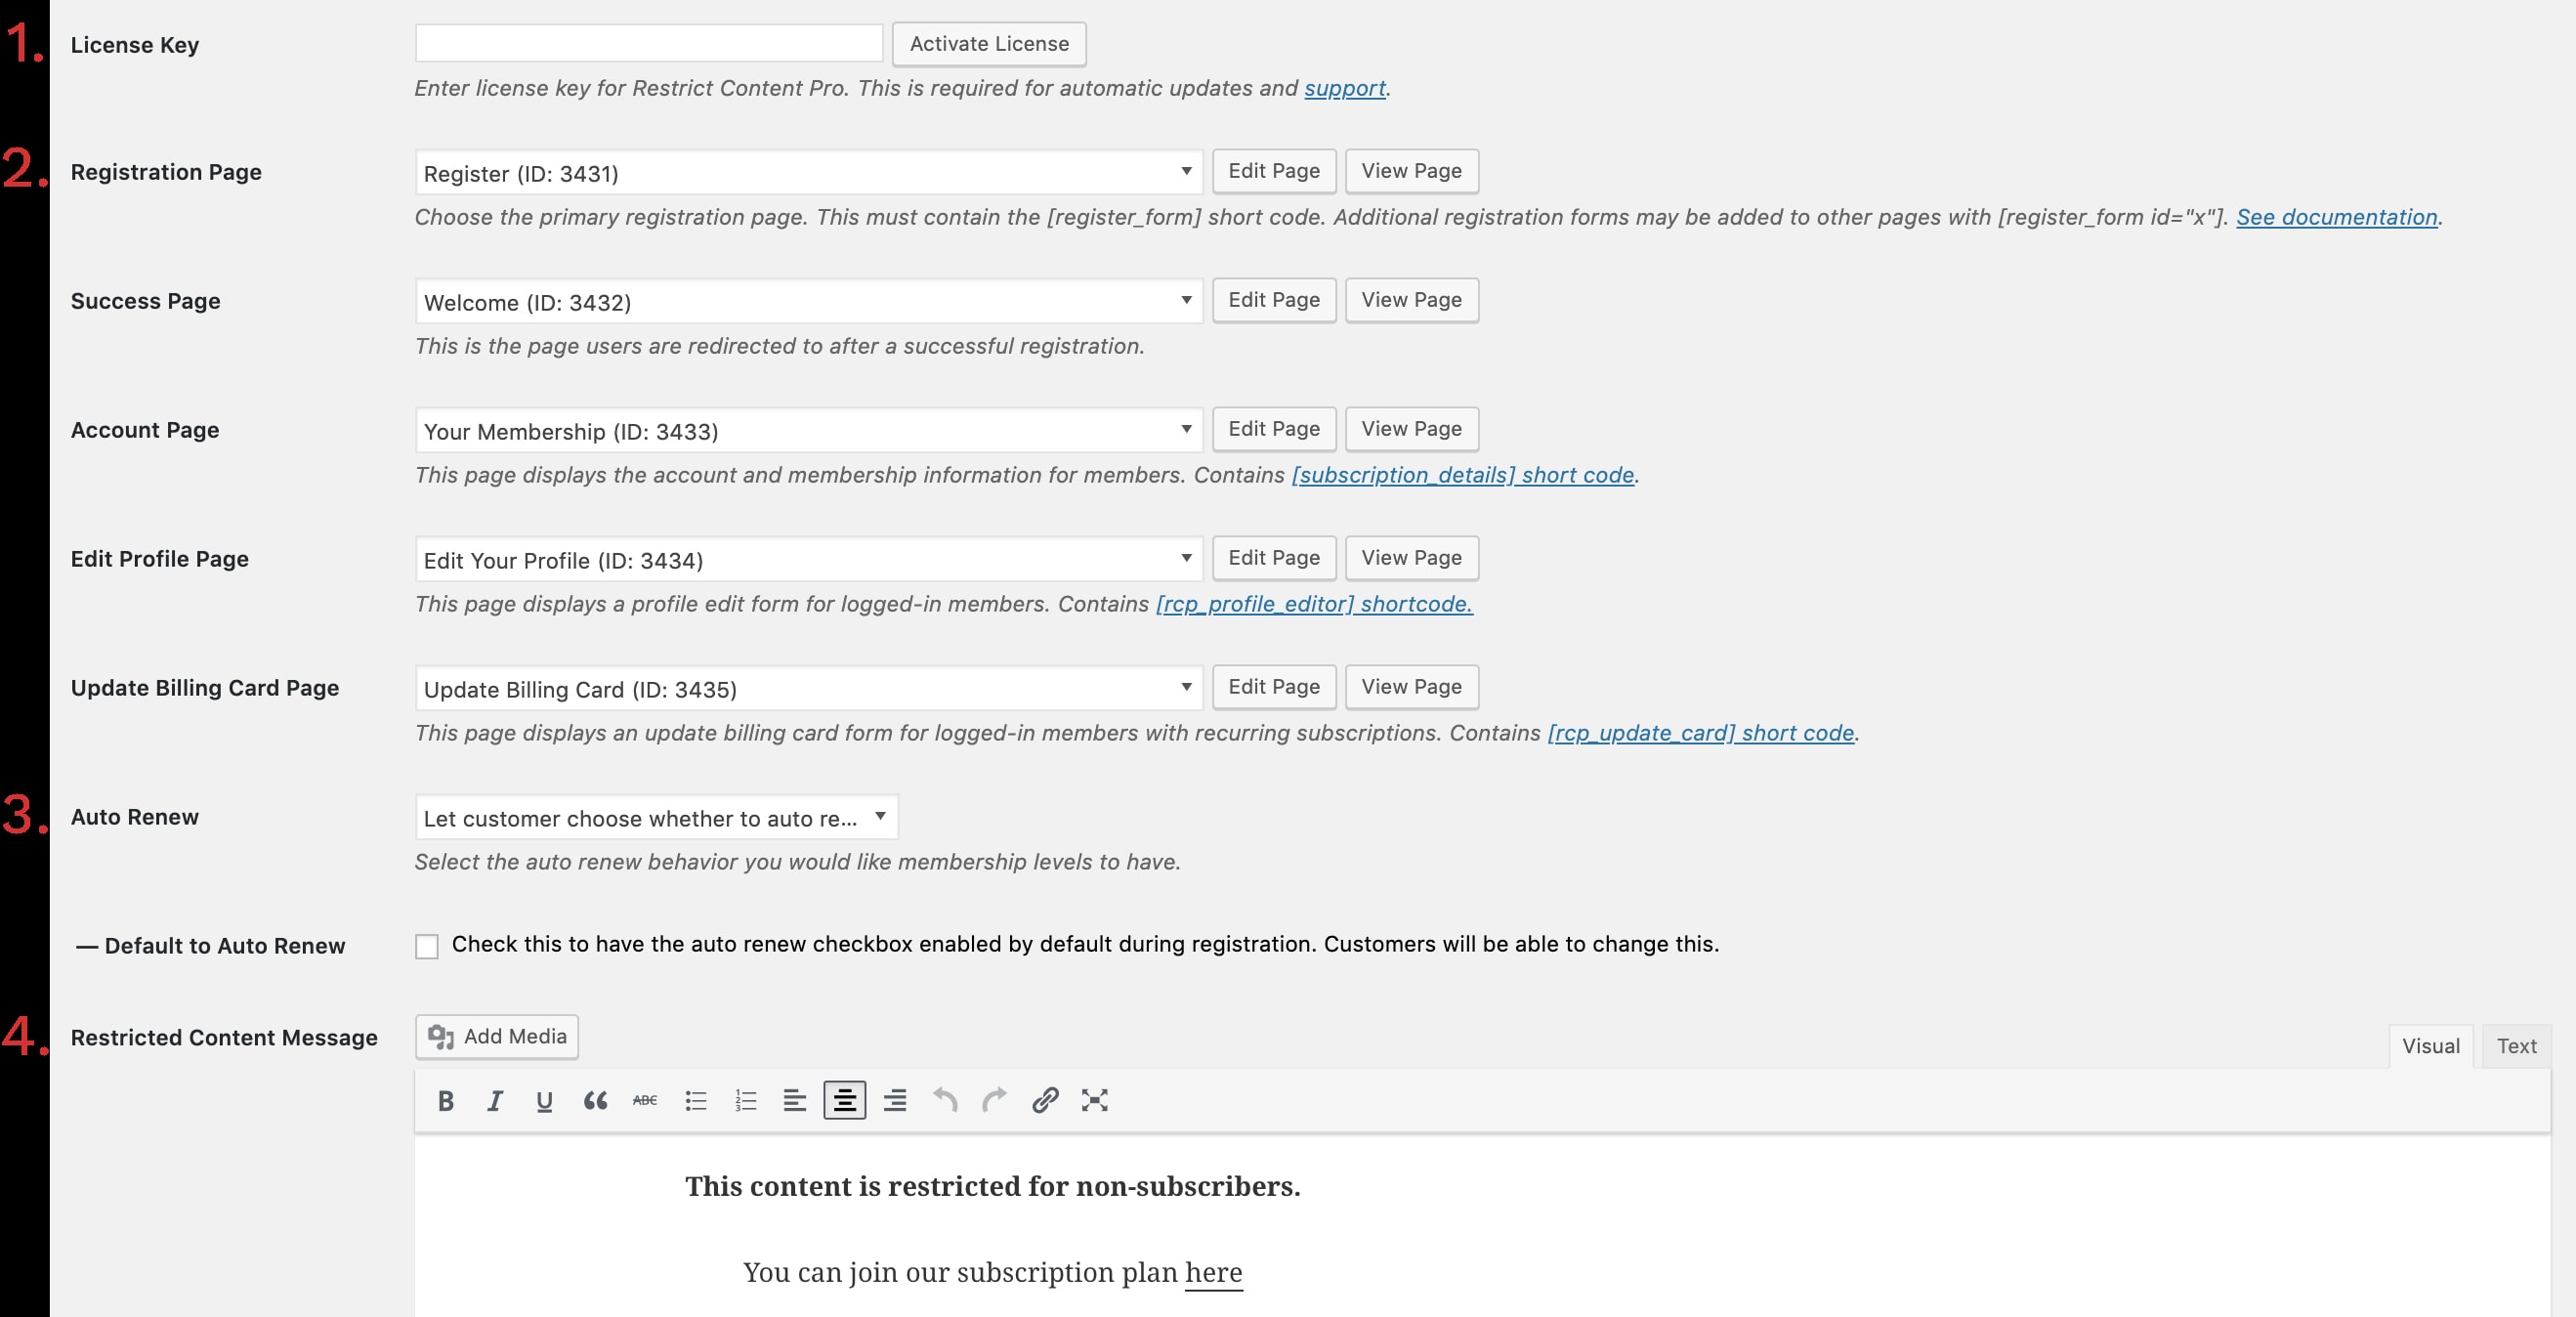
You can change the following settings in the settings page:
1. License key – insert your license key from your RCP account to receive automatic updates
2. Pages – with these, you can edit the look and content of registration, success, account pages, edit profile page and the update billing card page
3. Auto renew – select the renew behavior of your membership levels
4. Restricted Content Message – set custom message for when users without required membership level reach restricted content
How to set up payment gateways with RCP
To set up payment gateways and change your payment settings, go to:
WP Admin dashboard -> Restrict -> Settings -> Payment
In the payment tab, you can change the following settings:
1. Currency
2. Currency sign position
3. Enabled gateways – here you can enable which payment gateways will your users be able to use
4. Sandbox mode – with this setting enabled, you can test any payment method and all your payment settings (don’t forget to turn this off to allow your users to make actual payments)

Below these settings, you get to set up everything for each payment method that you’ve enabled in Enabled Gateways settings menu.
If you want to find an in-depth guide on how to set up every single one of these gateways, follow the Official Payment Gateway guide on RCP Website.
How to set up membership levels
To set up the membership levels, go to:
WP Admin dashboard -> Restrict -> Membership levels
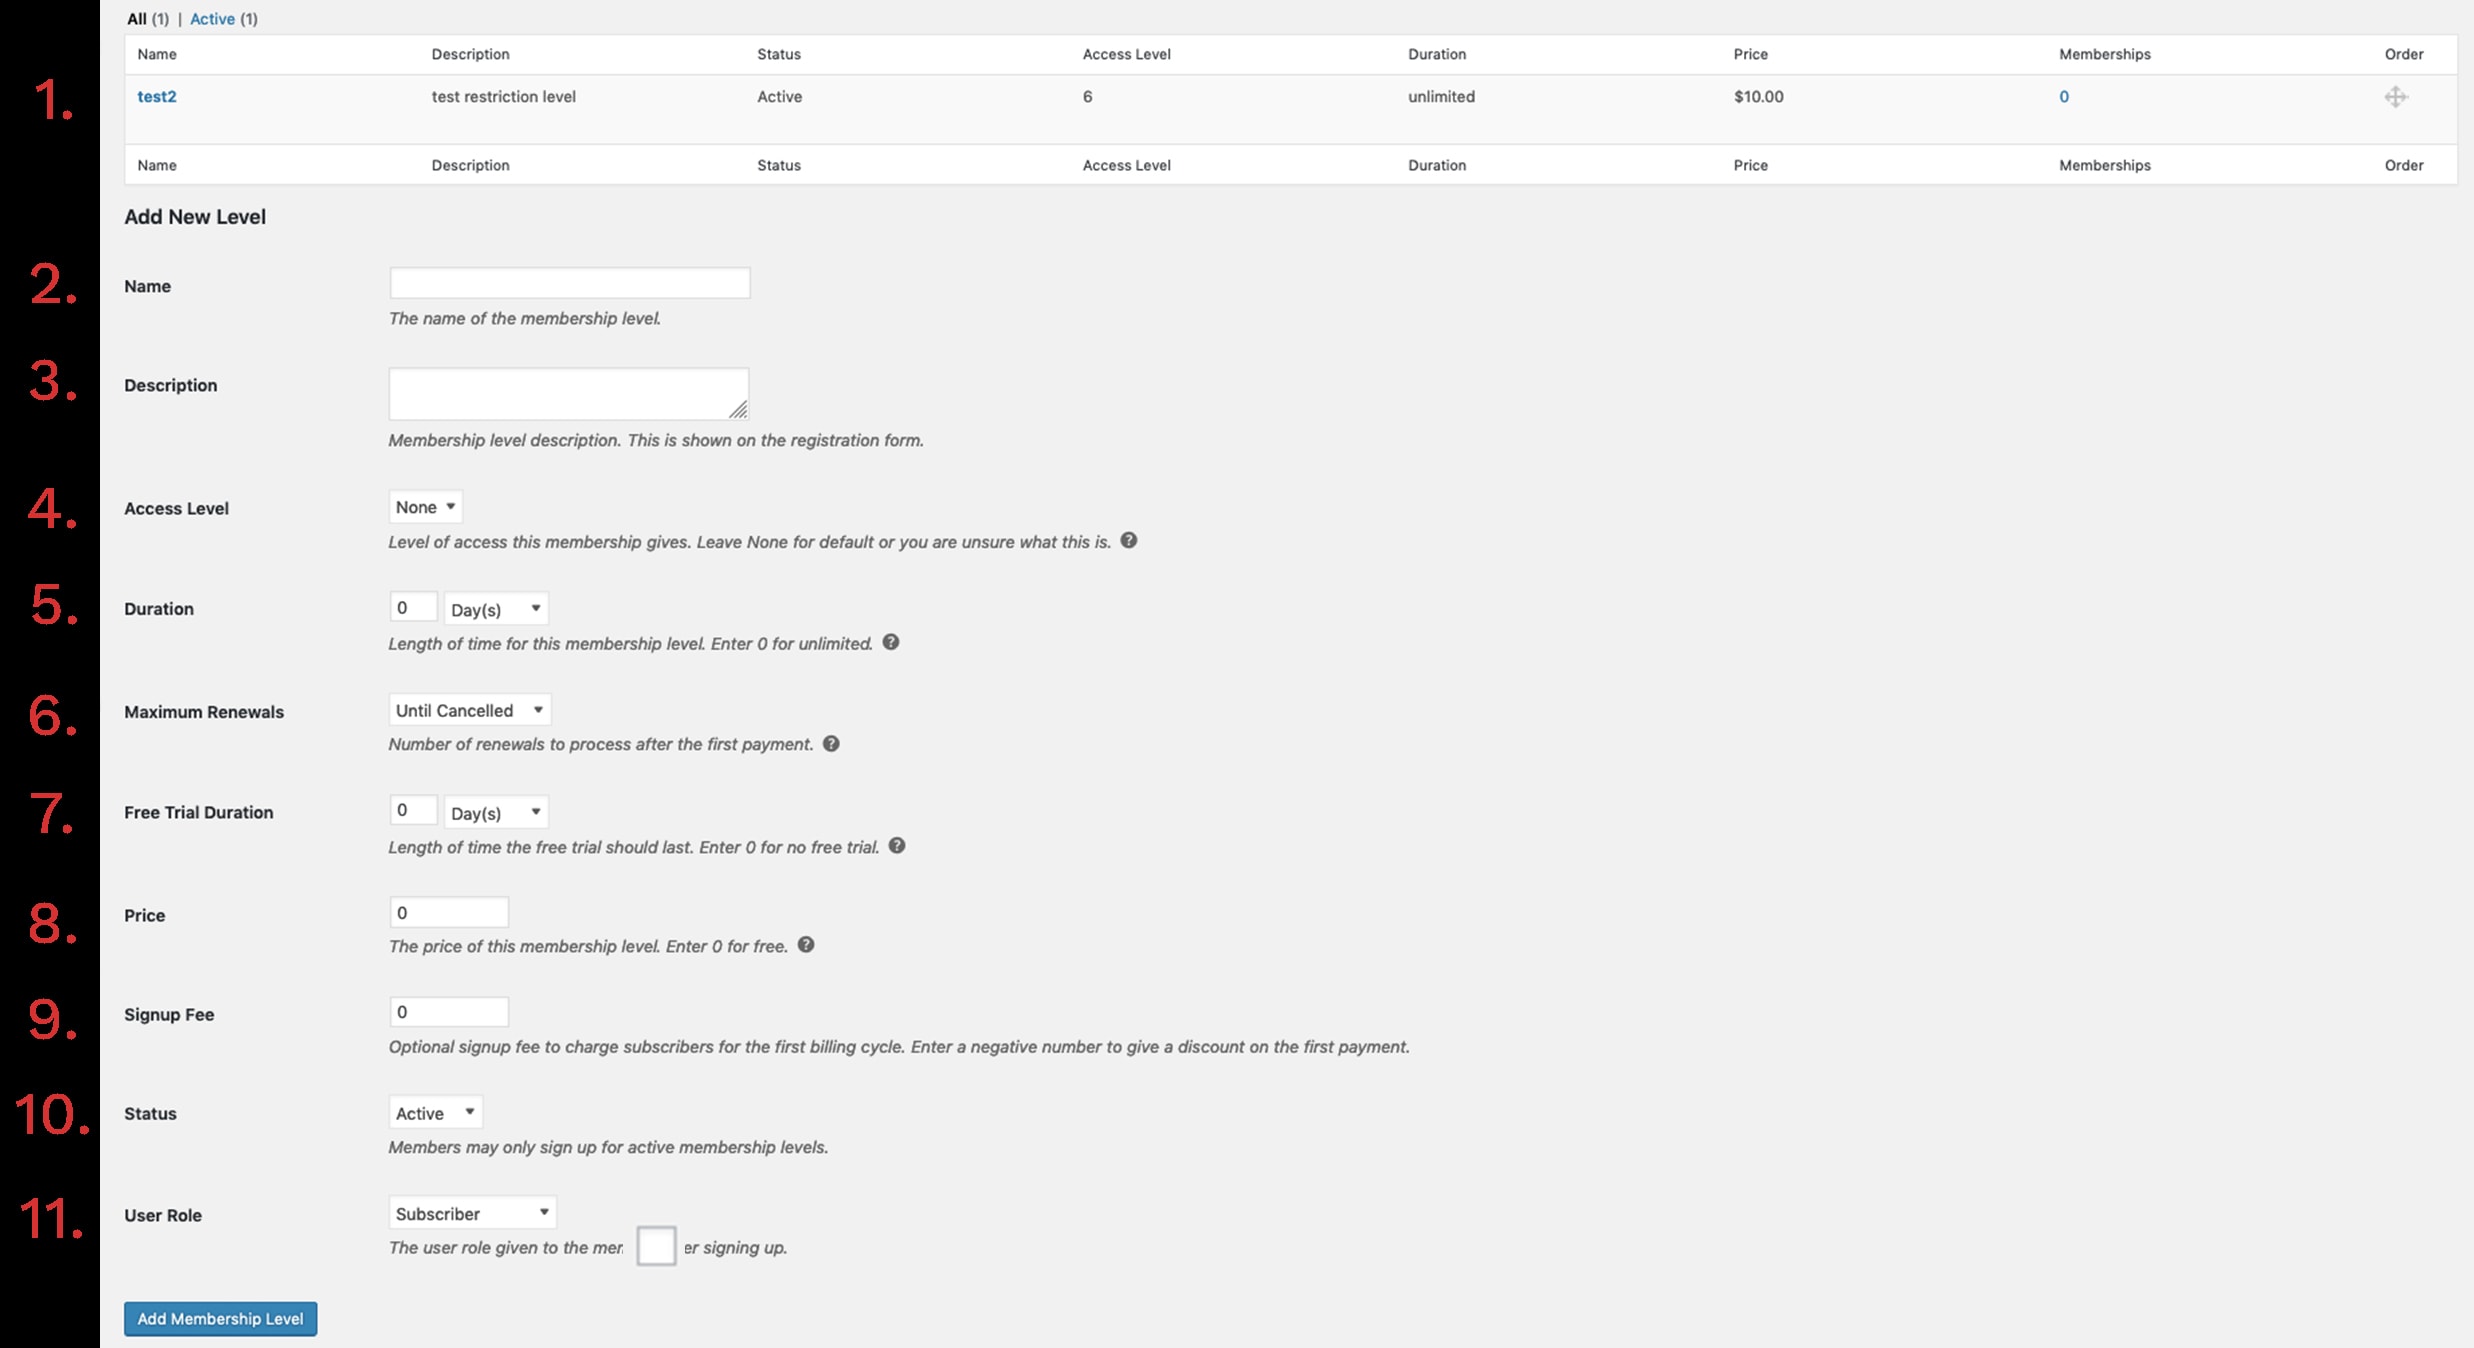
You can change the following settings on this page:
1. List of all membership levels - The complete list of all membership levels active on your site. You can edit or delete them via this list.
You can add new levels with settings below this list.
2. Name of the new membership level
3. Description for the new membership level
4. Access level – Set the access level of the new membership level. Higher number means higher permissions. (we recommend leaving this field blank if you aren’t already familiar with this setting)
5. Duration – Set the timespan in which the subscription will remain active after payment.
6. Maximum renewal – Set the number of maximum renewals after the first payment.
7. Free Trial duration – Enter the length of free trial.
8. Price
9. Signup Fee – A fee that will automatically add to the first payment. Entering negative number will give a discount on the first payment.
10. Status
11. User role
How to restrict content with RCP
With RCP you can restrict your content in many different ways. Here are some of them based on our preferences.
Restricting entire postS
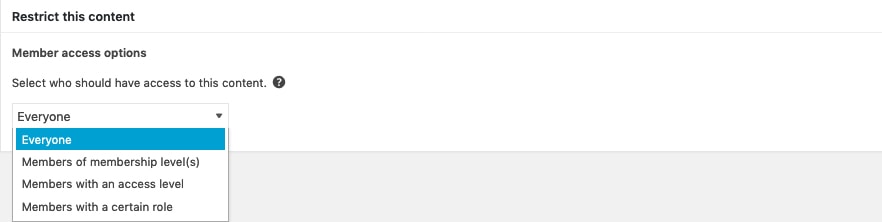
Each post, page, and any custom post type has a meta box with the restriction settings. It contains several settings that allow you to restrict the whole post in various ways.
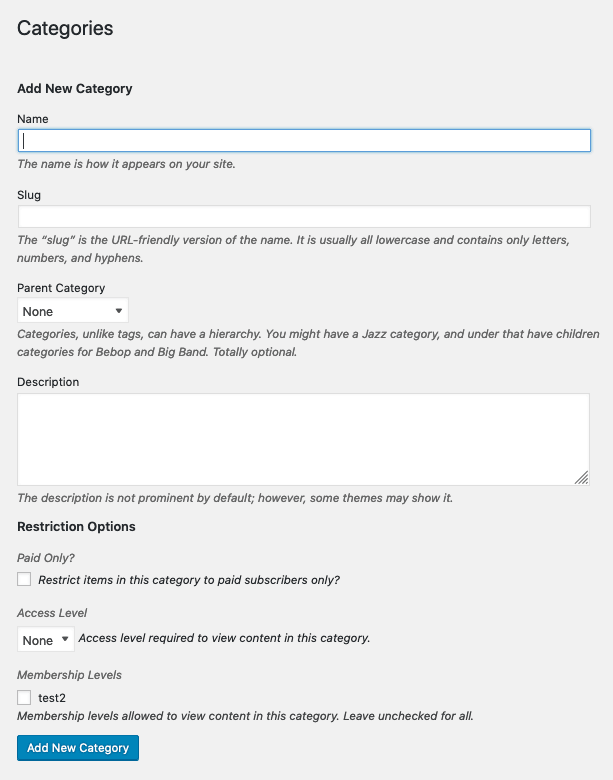
Restricting posts by categories
You can also easily restrict whole categories of posts. Simply go to Categories tab and choose your settings.
Restricting all posts at once
You can also easily restrict all the post at once. Simply go to Posts -> Restrict Access.
If you want to find more ways to restrict your content with RCP, you can read the Official RCP’s Restricting content documentation.
Integration with FV PayPerView
RCP also intergates very well with our PayPerView paid add-on. With PayPerView, you do not have to worry about the RCP access control for posts. Non-subscribers simply get a preview video with a prompt to join their desired subscription plan in order to watch the full video.
If you want to find out more about our PayPerView add-on, you can read our PayPerView documentation.