This guide is for the old version of FV Testimonials.

WP sidebar with Testimonials
The control panel for FV Testimonials can be found in WP administration->Sidebar. The entire panel consists of 8 pages in the PRO version, or 5 pages for the basic version. The pages are accessible from a submenu which opens under testimonials tab.
Adding a new testimonial:

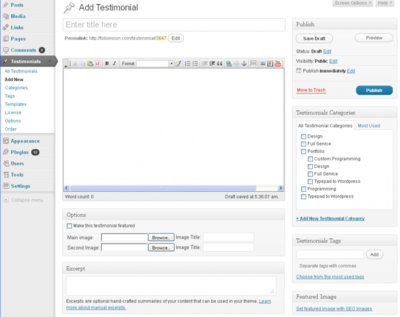
Adding a new testimonial
Go to “Add new” submenu and fill in the name and text, excerpt. Optionally, you can select a category for your Testimonial. Adding an image is also optional.
Please not that from version 1.13 we recommend to use WordPress featured images instead of legacy testimonials images and if you’ve never used testimonials images (e.g. if you just installed the plugin) then you will not see fields to add testimonials images and you should use WordPress featured images instead or you can put image directly into testimonial content.
Editing an existing testimonial:
If you wish to edit details of your testimonials, click on the name of a testimonial in the list that you wish to modify and edit the testimonials just as you edit posts or pages.
Adding and editing Categories:
Go to the ‘Categories’ view. The user interface is the same as posts categories.
Reordering Testimonials:

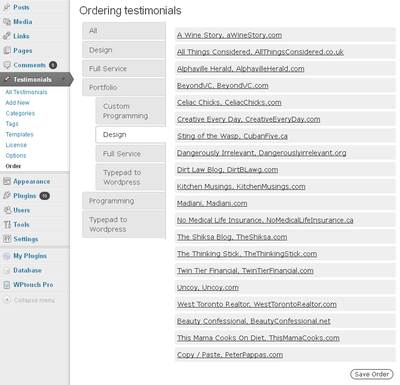
FV Testimonials reordering
If you wish to set a custom order to your testimonials, open the Order view. Simply drag and drop the testimonials to achieve the desired order, then click Save.
Ordering by categories is possible as well.
Adding and Editing Templates

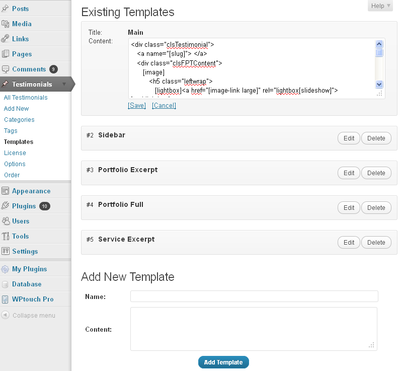
Templates view
Please note: Templates are only available in the PRO version of FV Testimonials.
Please refer to the detailed guide to FV Testimonials templates for more information on this feature.
General Options
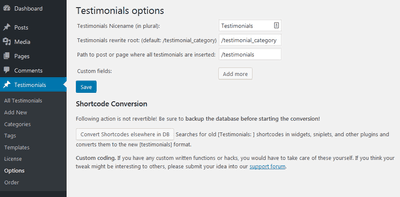
 General options
- Testimonials Nicename (in plural):
- available only in PRO extension
- default value: Testimonials
- Testimonials rewrite root: (default: /testimonial_category):
- You can change or remove (when using just /) /testimonial_category from category URLs
- Path to post or page where all testimonials are inserted:
- available only in PRO extension
- This should be a relative path to a WP page from the homepage.
- In the example above (imagine it is on the foliovision.com site) the link resolves to: http://foliovision.com/testimonials
In case you are using legacy testimonials images you might see also the following options and maintenance check buttons:
- Image root folder
- This should be a path relative to DOCUMENT_ROOT as defined by the Apache Server. In most cases, this is also going to be your homepage.
- This link should have the starting slash.
- Large/Medium/Small image width are the maximum output widths of your uploaded images for each particular use of the image, in pixels. Thumbnails are automatically generated as well and these are accessible by an embed query. The width of the thumbnails is hard-coded to 50px.
- JPG Quality is a parameter specifying the compression quality in which PHP should store your JPEG image upload. The range is 0-100 and a higher number means finer images, less compression, and larger file sizes.
Normally, the quality setting of 90 produces fine pictures with reasonable file sizes. If you want excellent pictures, try the quality setting of 95 or even 100. If you want much smaller file sizes, a quality setting of 70 or even 50 may be the way to go.
Maintenance checks are special routines which can help you repair certain issues on your own. They do not alter the testimonials in any way. The one exception is the ‘Restore order’ command, which cancels custom order, so you have to reorder the testimonials again by hand.


